Are you concerned about the security of your cryptocurrency holdings? With the increasing popularity of digital assets, keeping your investments safe has become more important than ever. One way to enhance the security of your crypto holdings is by using a hardware wallet like Trezor. These devices offer an offline storage solution that keeps your private keys safe from online threats.
In this guide, we will show you how to make your own Trezor-like hardware wallet. By building your own device, you can have complete control over its security features and ensure that your private keys remain secure. This DIY project will not only enhance your understanding of cryptocurrency security but also give you a sense of accomplishment.
Follow our step-by-step instructions and unleash your inner maker as you create your very own hardware wallet from scratch. Protect your valuable crypto assets with a custom-built hardware wallet that puts security in your hands.
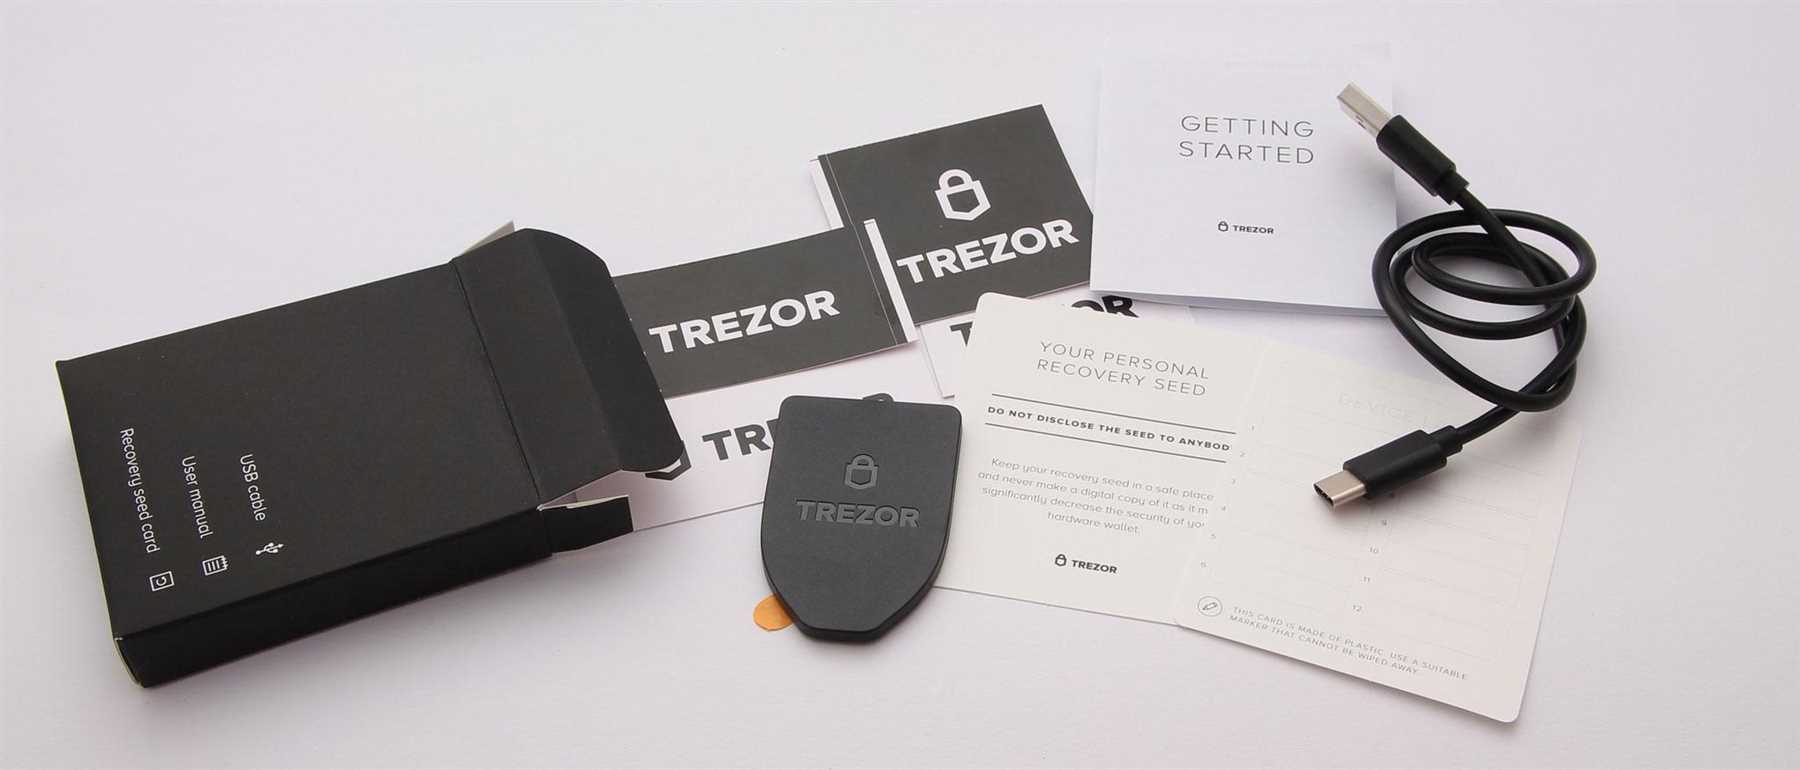
Materials needed for trezor
To make a trezor, you will need the following materials:
1. Raspberry Pi
A Raspberry Pi microcontroller is the main component you will need to build your trezor. This small but powerful device will serve as the platform for your wallet.
2. OLED Display
An OLED display is essential for showing the user interface of your trezor. This screen will allow you to interact with your wallet securely.
Note: These are just some of the key materials you will need to build a trezor. Depending on the specific design and features you want, you may need additional components.
Step-by-step guide to assembling trezor
Assembling your Trezor hardware wallet is a straightforward process that can be easily completed in a few simple steps. Follow this guide to ensure that your Trezor is correctly assembled and ready for secure cryptocurrency storage.
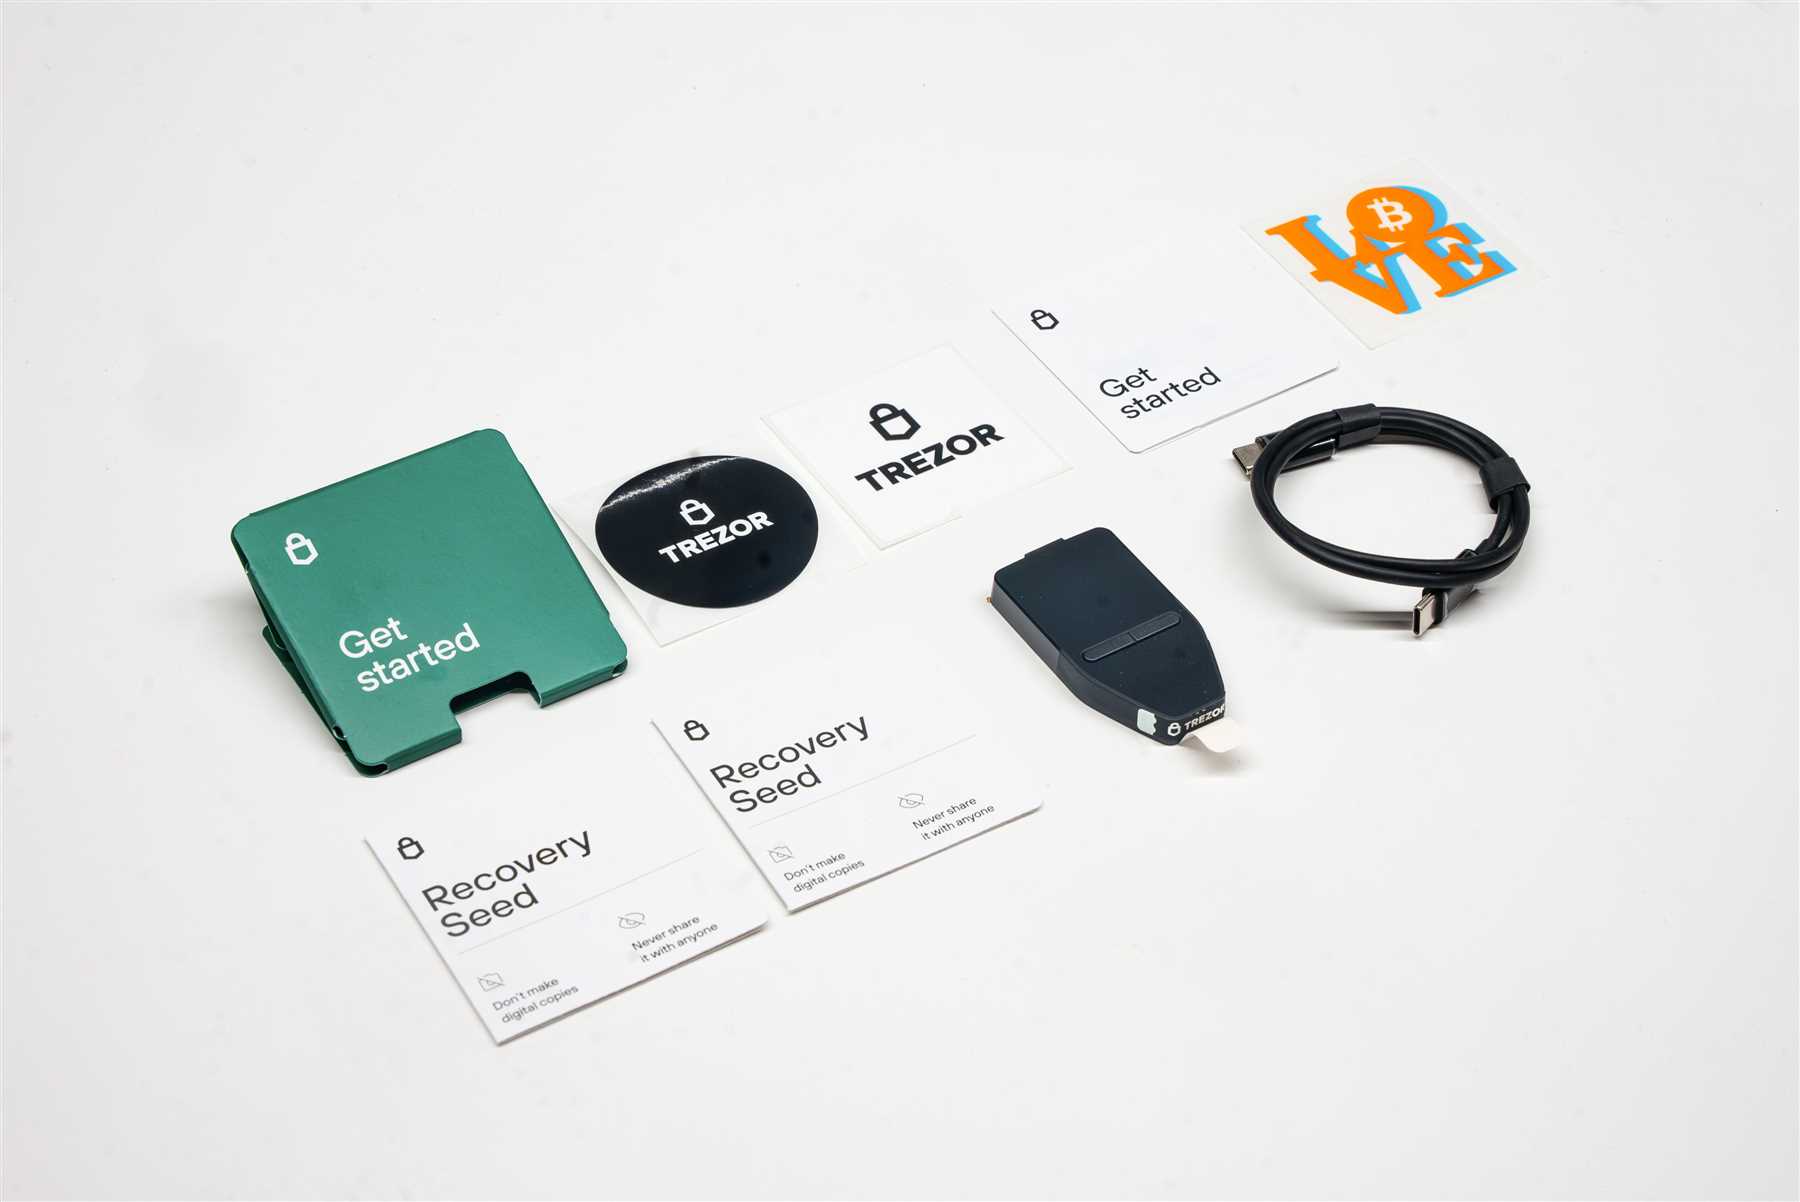
Materials needed:
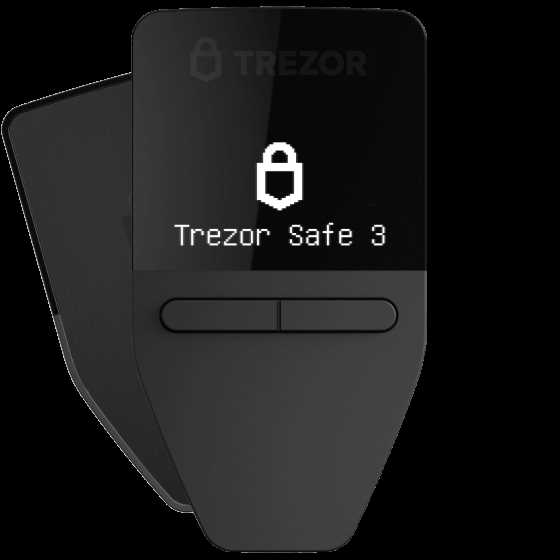
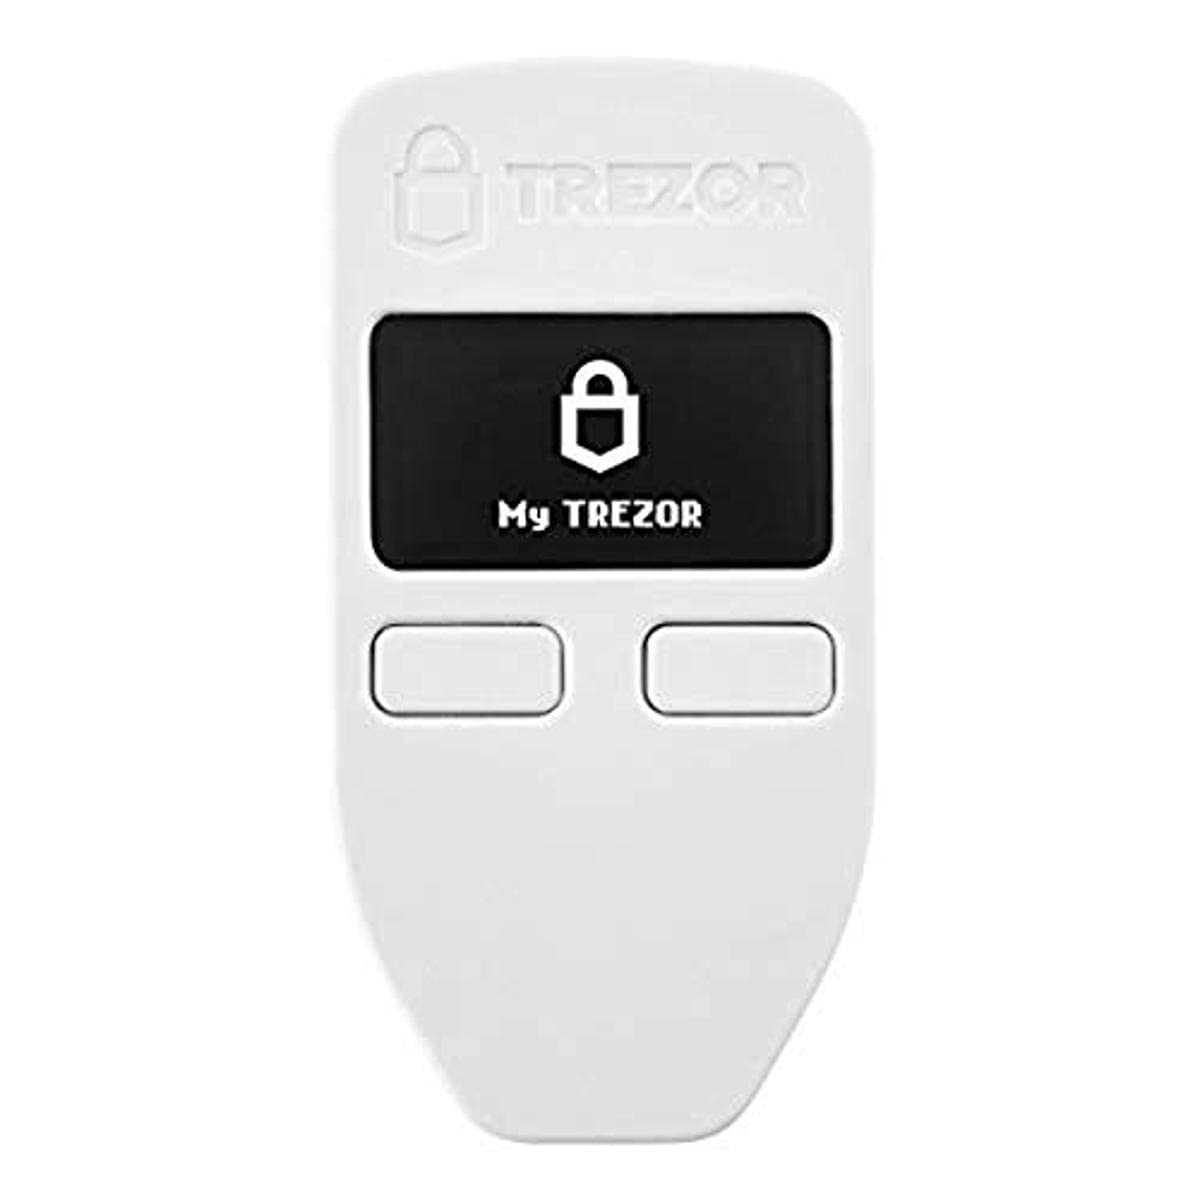
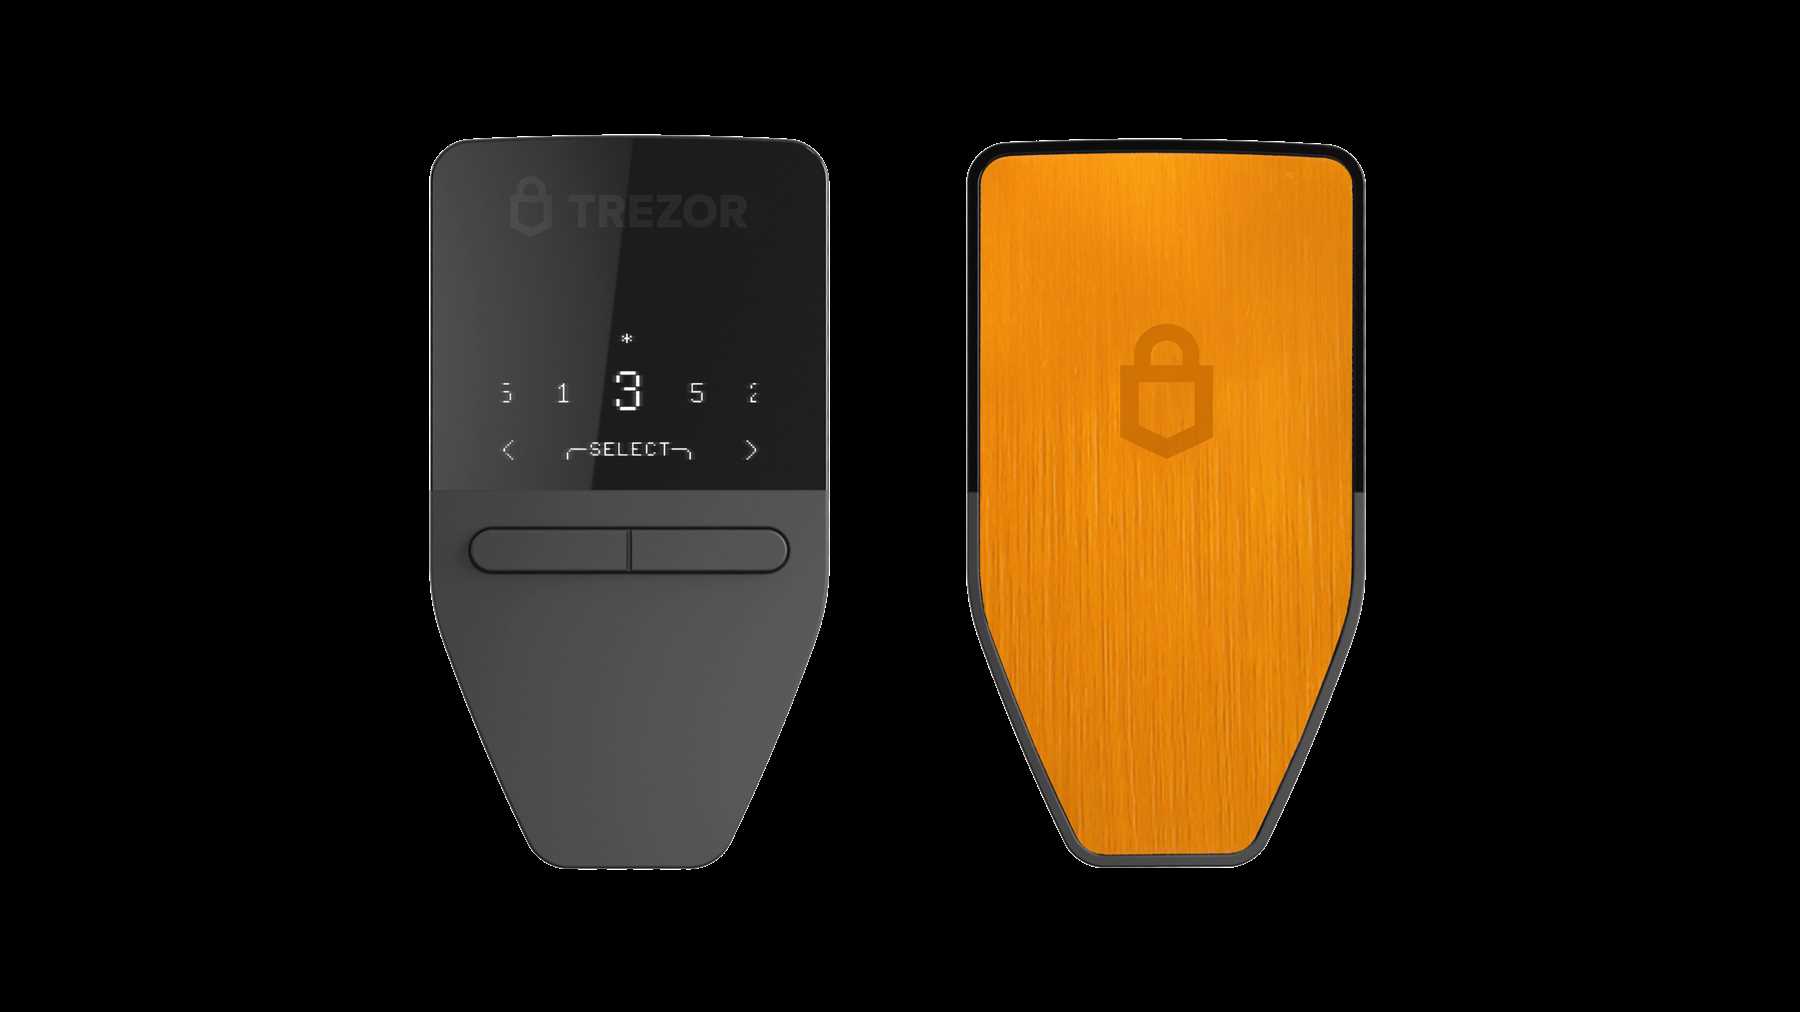
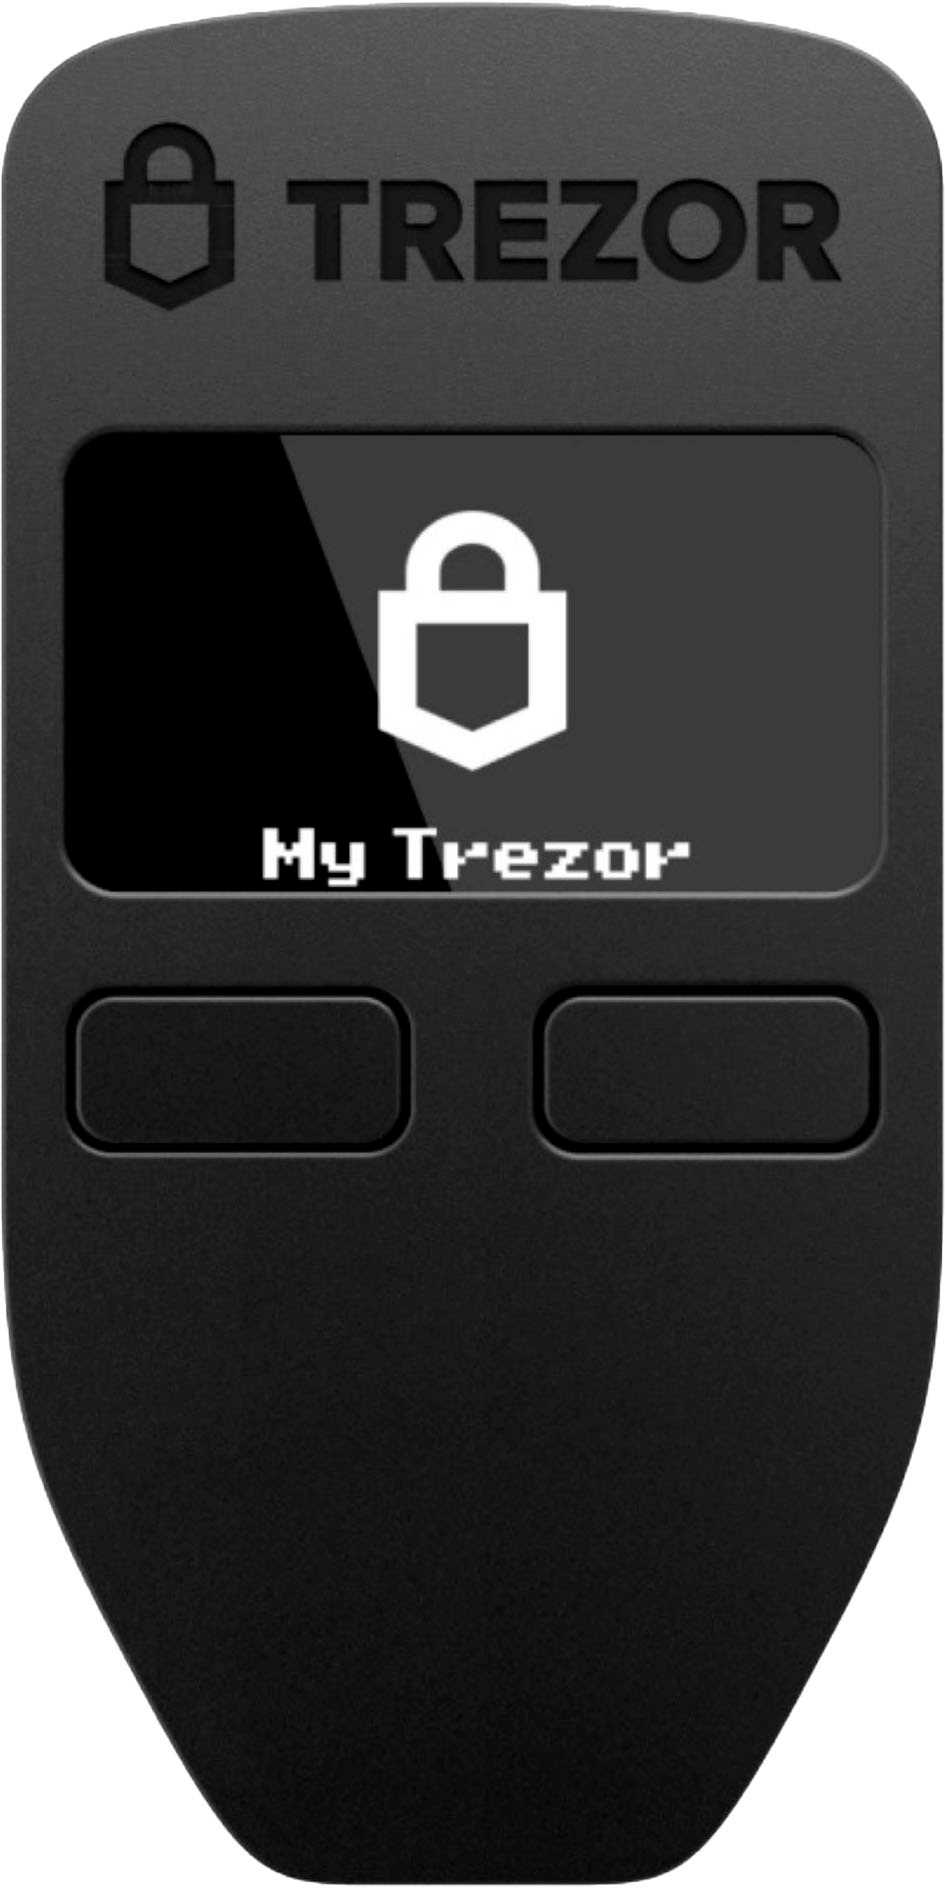
- Trezor device
- USB cable
- Computer with internet connection
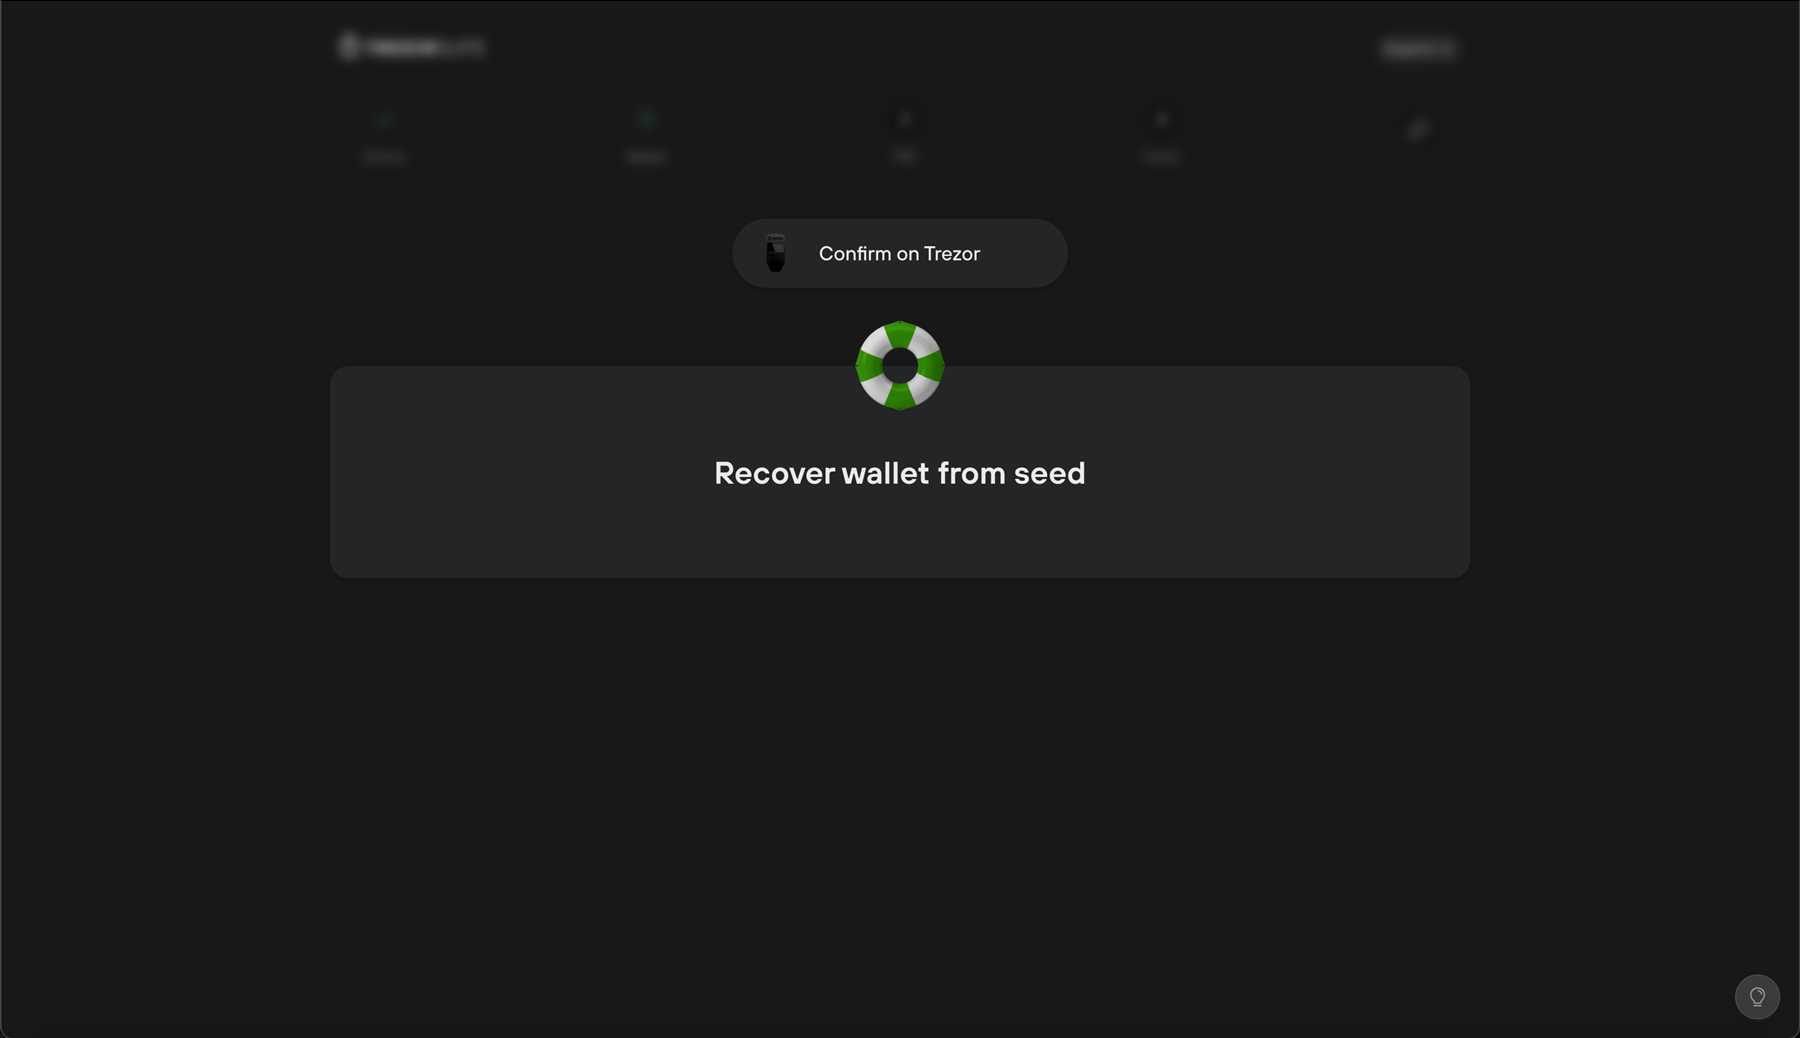
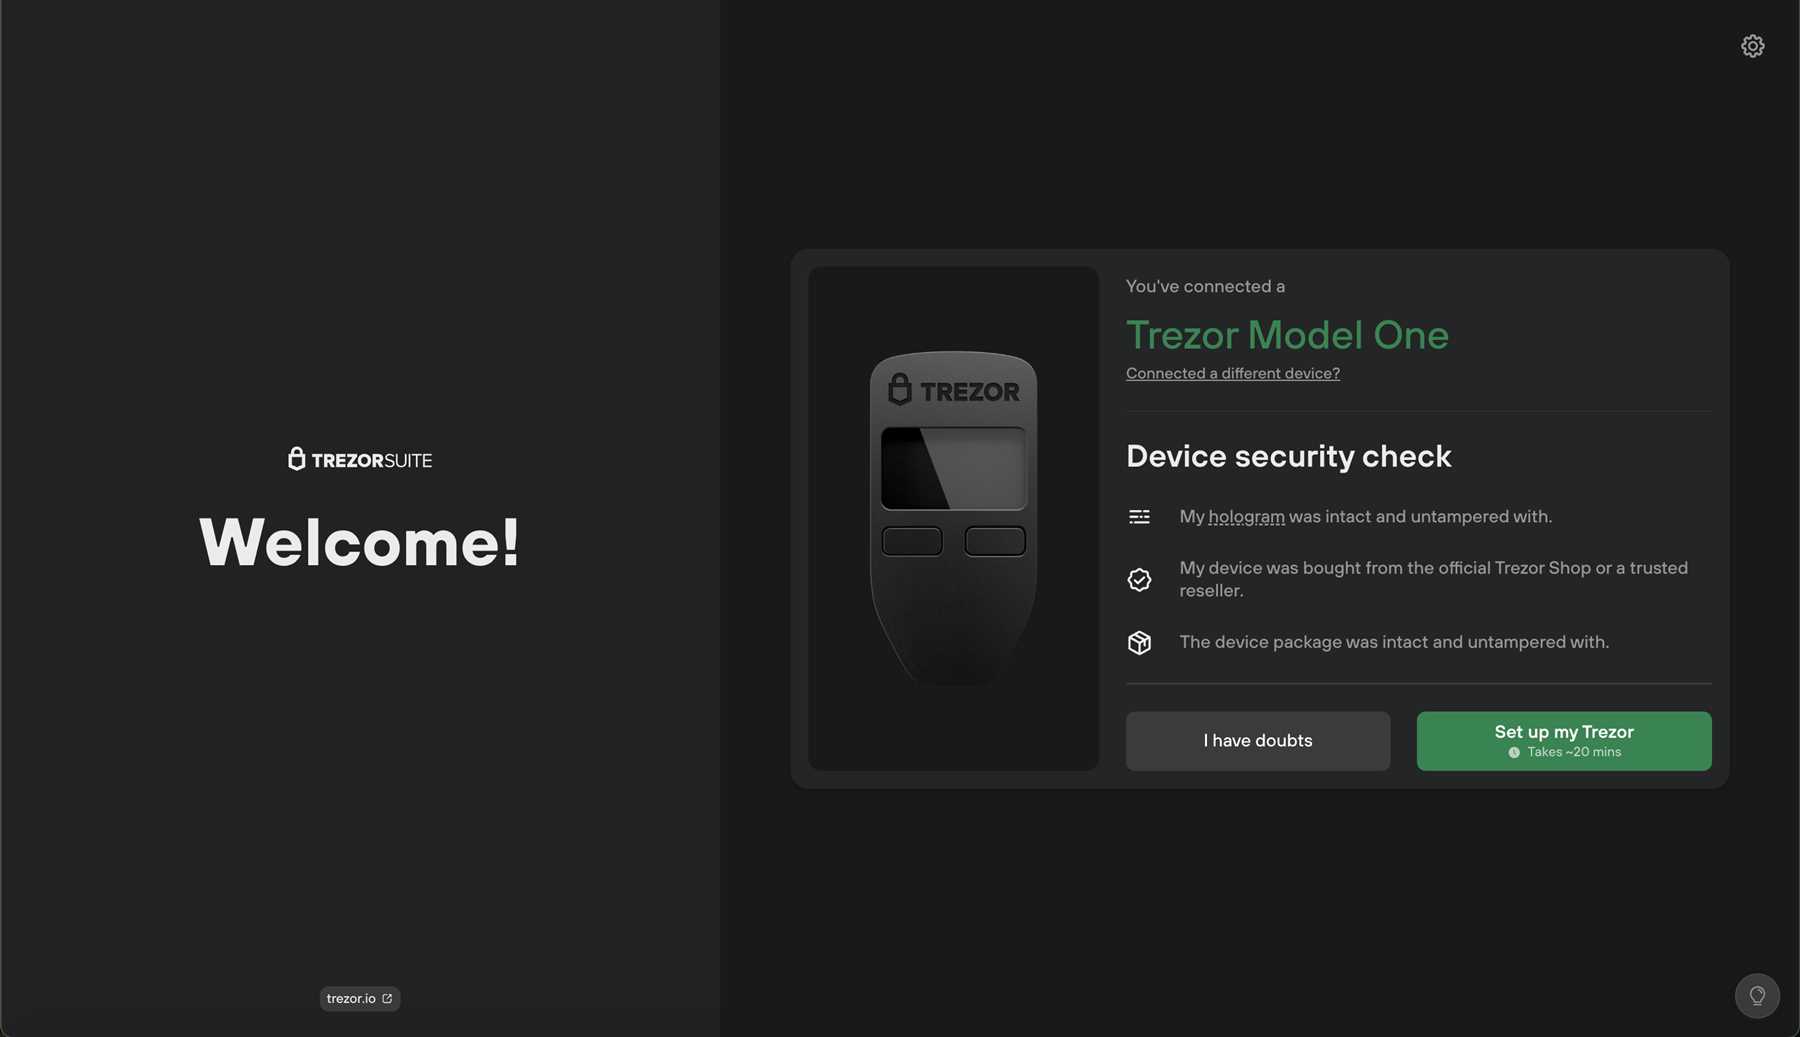
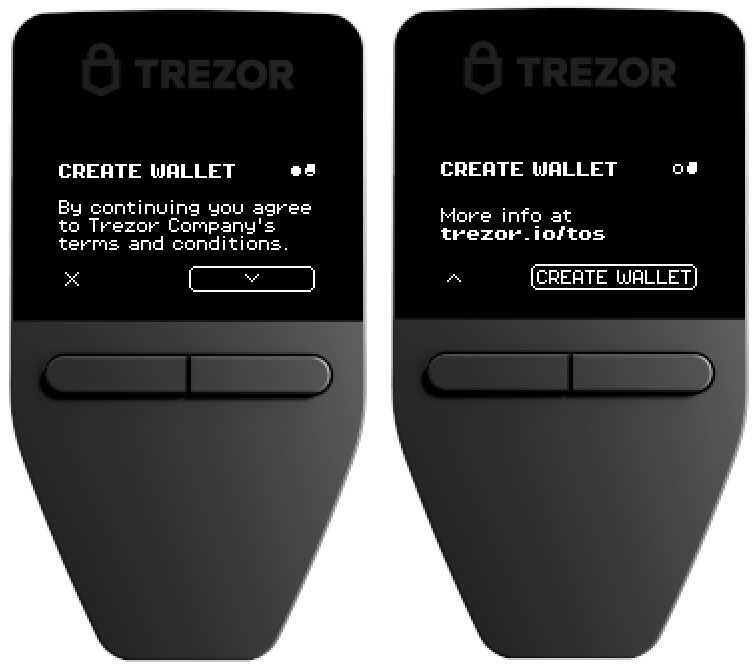
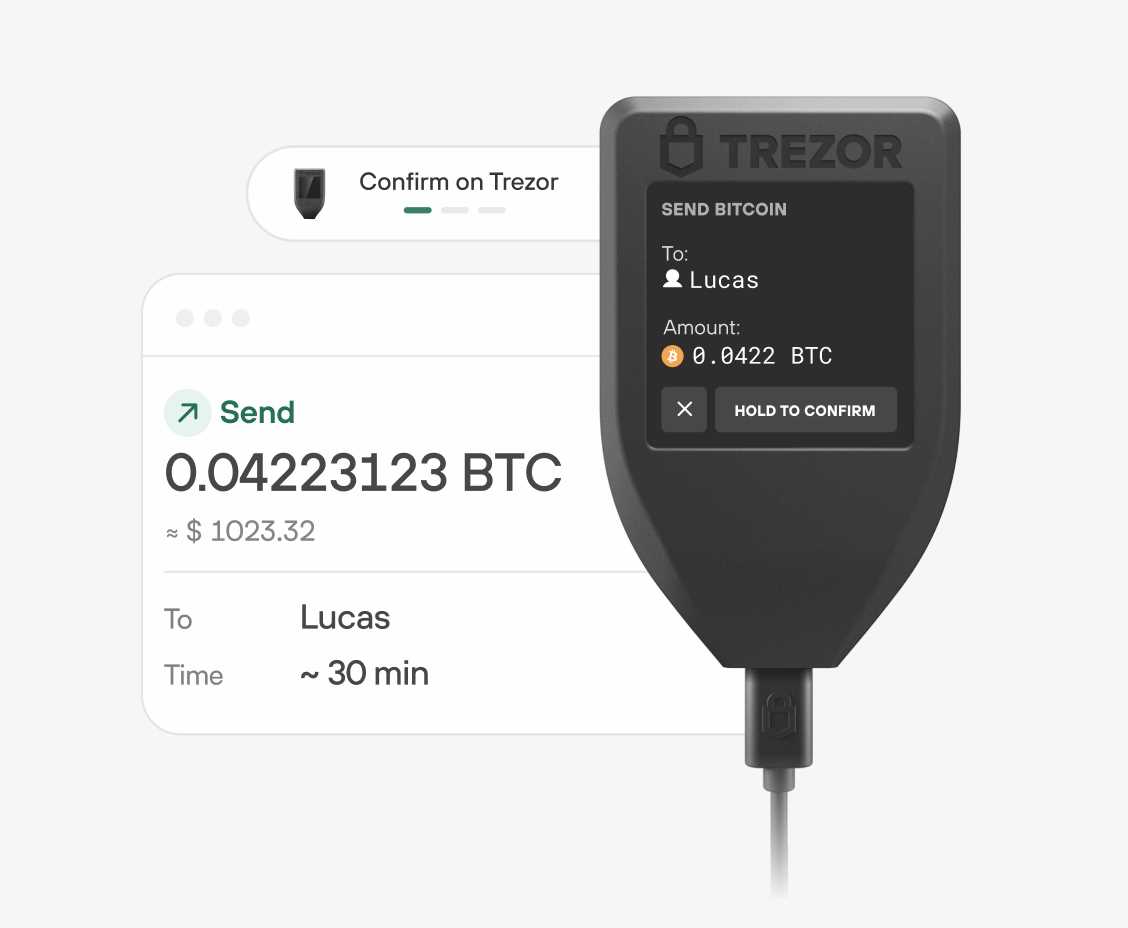
Step 1: Connect your Trezor to your computer
Insert one end of the USB cable into the Trezor device and the other end into a USB port on your computer. Your Trezor should power on once connected.
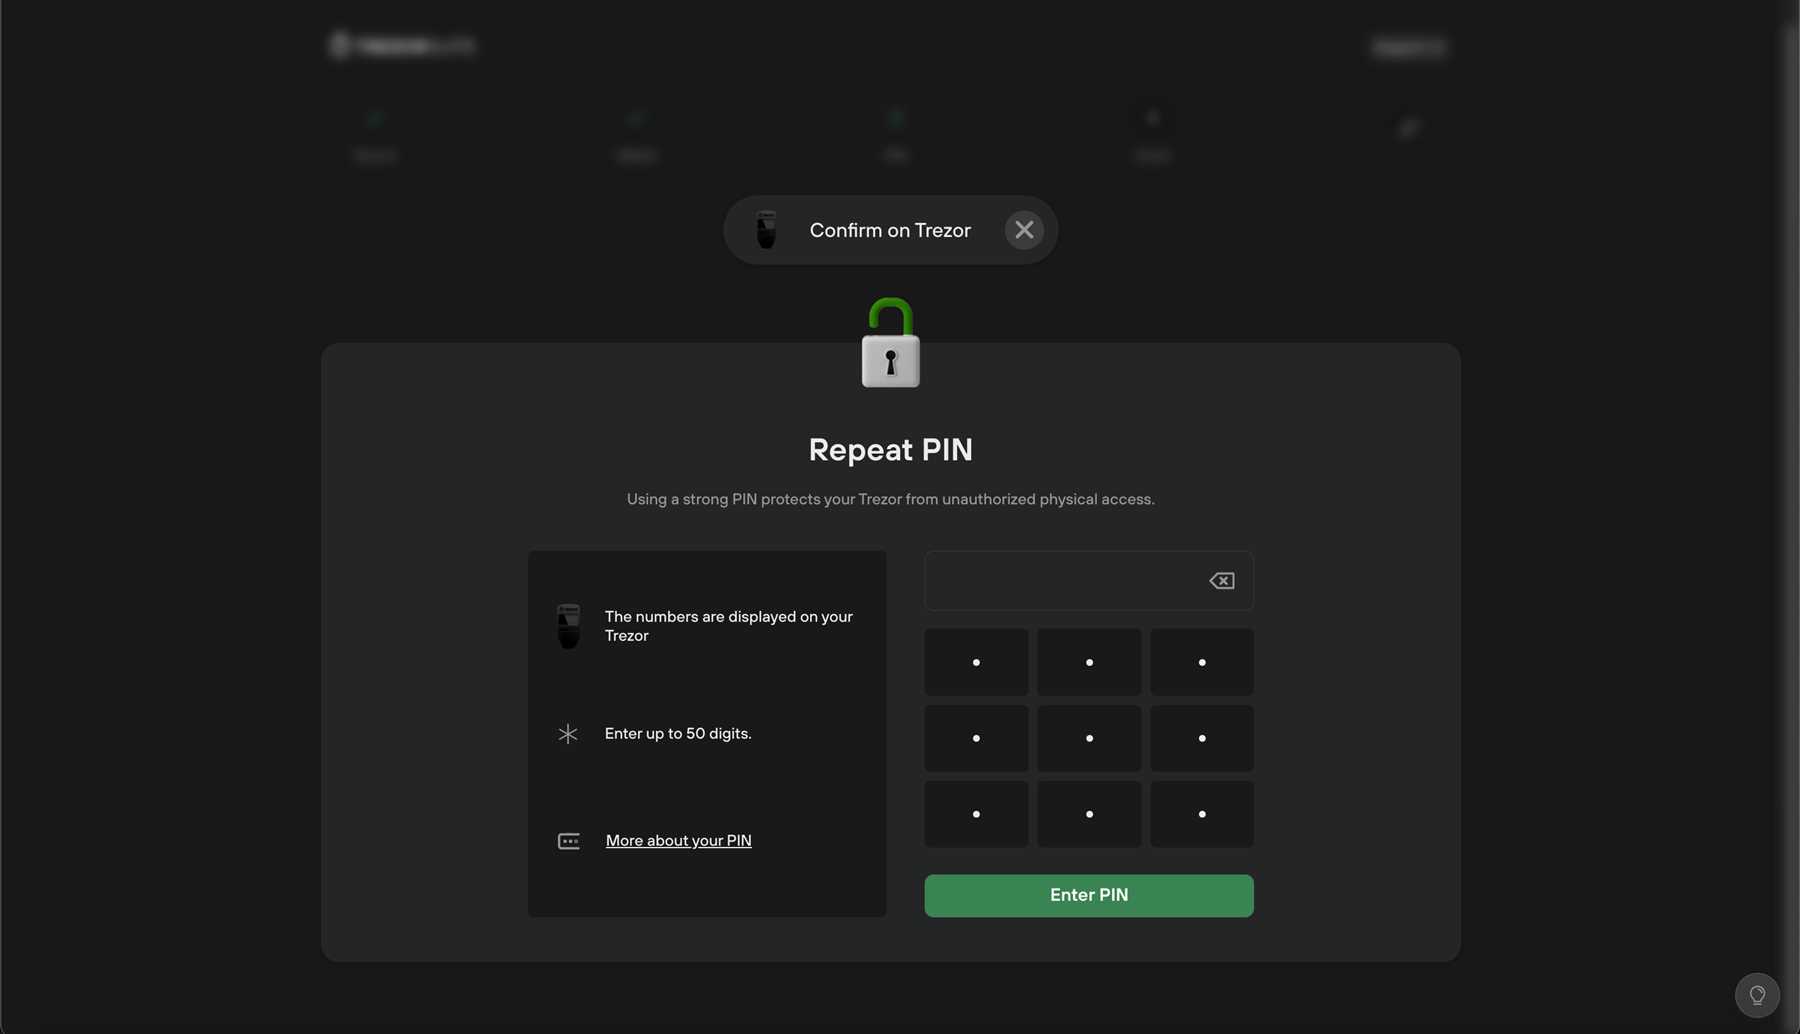
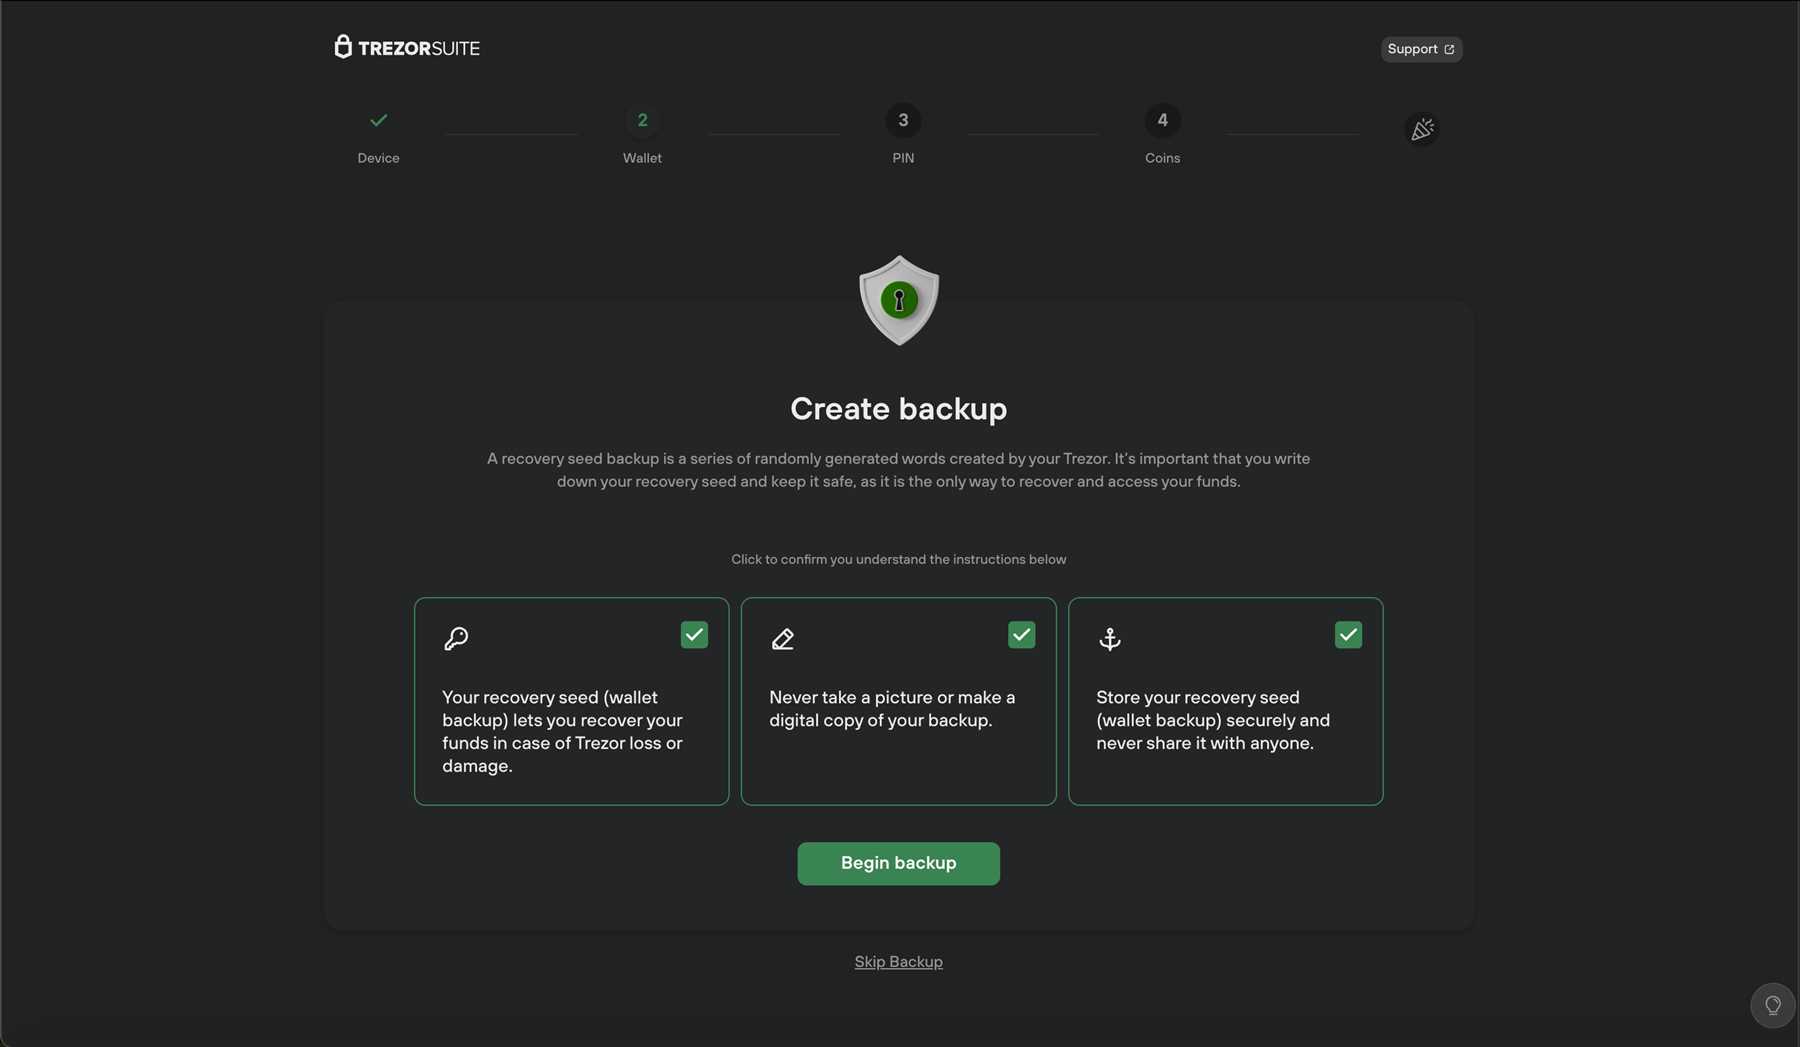
| Step 2: Visit the Trezor website | Step 3: Follow the on-screen instructions to set up your recovery seed |
| Visit the official Trezor website to download the Trezor Bridge software. | During the setup process, you will be prompted to write down your recovery seed. Make sure to keep this seed safe and secure. |
Tips for ensuring trezor quality
1. Purchase from an authorized seller: Make sure to buy your trezor from an official and reputable seller to ensure that you are getting a genuine and high-quality product.
2. Verify the packaging: Check the packaging of your trezor for any signs of tampering or damage. Authentic trezor devices come in sealed packaging that should be intact.
3. Look for security features: Inspect the trezor device for security features such as holographic stickers, tamper-resistant seals, and unique serial numbers to verify its authenticity.
4. Update firmware: Keep your trezor’s firmware up to date by regularly checking for updates on the official trezor website. This will ensure that your device has the latest security patches and features.
5. Use a secure PIN: Choose a strong and unique PIN for your trezor device to protect it from unauthorized access. Avoid using easily guessable PINs or sharing them with others.
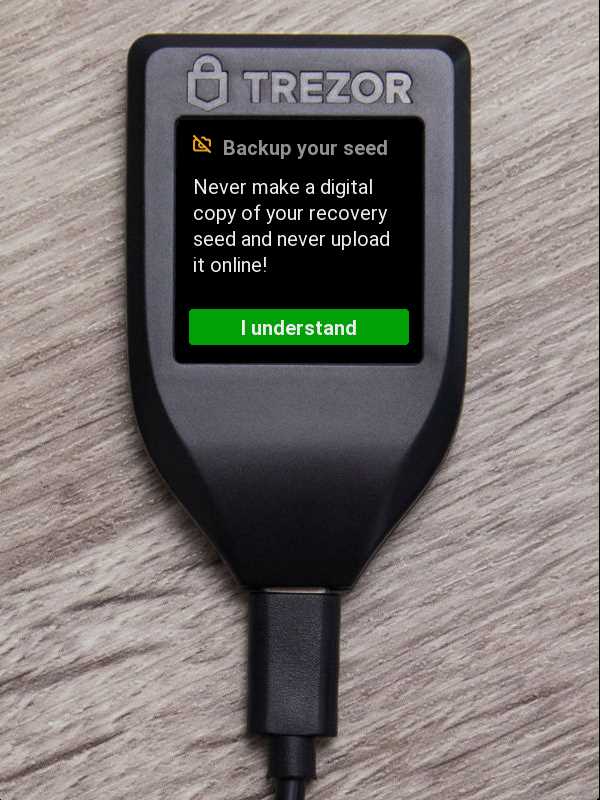
6. Backup your seed: Create a secure backup of your trezor’s seed phrase and store it in a safe and accessible location. This will allow you to recover your funds in case your trezor device is lost or damaged.
7. Test your device: Perform regular tests on your trezor device to ensure that it is functioning properly and securely. Check for any unusual behavior or signs of malfunction.
Testing and troubleshooting trezor
After setting up your Trezor hardware wallet, it is important to test its functionality to ensure that it works correctly and securely. Here are some steps you can take to test and troubleshoot your Trezor:
1. Check the connections: Make sure that your Trezor is properly connected to the computer or mobile device. If it is not recognized, try using a different USB cable or port.
2. Verify the device: Before using your Trezor to store any cryptocurrency, verify that the device is genuine by checking the holographic seal and serial number.
3. Test transactions: Send a small amount of cryptocurrency to your Trezor wallet and then try sending it back to another wallet to ensure that transactions are processed correctly.
4. Update firmware: Make sure that your Trezor firmware is up to date by checking for any available updates on the official Trezor website.
5. Backup and recovery: Test the backup and recovery process by restoring your wallet using the recovery seed. Make sure you can access your funds in case your Trezor is lost or damaged.
6. Contact support: If you encounter any issues or have questions about your Trezor, don’t hesitate to contact Trezor’s customer support for assistance.
Security measures for trezor storage

When storing your Trezor device, it is essential to follow certain security measures to protect your cryptocurrency assets:
1. Use a secure location:
Store your Trezor in a safe and secure location that is protected from theft, fire, and other potential risks. Consider using a safe deposit box or a secure home safe to keep your device safe.
2. Backup your recovery seed:
Make sure to securely back up your Trezor recovery seed and store it in a separate physical location. This seed is crucial for recovering your funds in case your device is lost, stolen, or damaged.
By following these security measures, you can ensure that your Trezor device and your cryptocurrency assets are protected from unauthorized access and potential threats.
Benefits of using trezor
1. Security: Trezor provides a secure way to store and manage your cryptocurrency assets by keeping them offline and protected from hackers.
2. Easy to use: Trezor’s user-friendly interface makes it easy for both beginners and experienced users to manage their funds securely.
3. Backup and recovery: Trezor allows you to create a backup of your wallet and easily recover your funds in case your device is lost or damaged.
4. Compatibility: Trezor supports a wide range of cryptocurrencies and is compatible with popular wallets and services, providing flexibility and convenience.
5. Peace of mind: With Trezor, you can have peace of mind knowing that your assets are secure and protected, allowing you to focus on your investment goals without worrying about security risks.
Future developments in trezor technology
In the rapidly evolving landscape of cryptocurrency and blockchain technology, Trezor is committed to staying at the forefront of innovation and security. As the demand for secure hardware wallets continues to grow, Trezor is constantly exploring new features and technologies to enhance the user experience and ensure the highest level of protection for digital assets.
Enhanced Biometric Security
One potential future development for Trezor technology is the integration of enhanced biometric security features. By incorporating fingerprint or facial recognition technology, Trezor wallets could offer an additional layer of protection that is both secure and convenient for users.
Support for New Cryptocurrencies
As the number of cryptocurrencies in circulation continues to expand, Trezor is working to ensure compatibility with a wide range of digital assets. Future developments may include support for new and emerging cryptocurrencies, as well as improved integration with decentralized exchanges and other blockchain platforms.
FAQ:
What is Trezor and why should I make one?
Trezor is a hardware wallet used for storing cryptocurrency. Making your own Trezor allows you to have full control over the security of your funds and ensures that no third party has access to your private keys.
Is it difficult to make a Trezor on my own?
Making a Trezor on your own can be a challenging process, as it involves soldering and assembling electronic components. However, if you have experience with DIY electronics projects, you may find it manageable with the right instructions and tools.
What materials and tools do I need to make a Trezor?
To make a Trezor, you will need a microcontroller (such as Arduino or STM32), a display screen, buttons, a USB connector, a secure element chip, and various electronic components. You will also need soldering equipment, a soldering iron, and a computer to program the microcontroller.