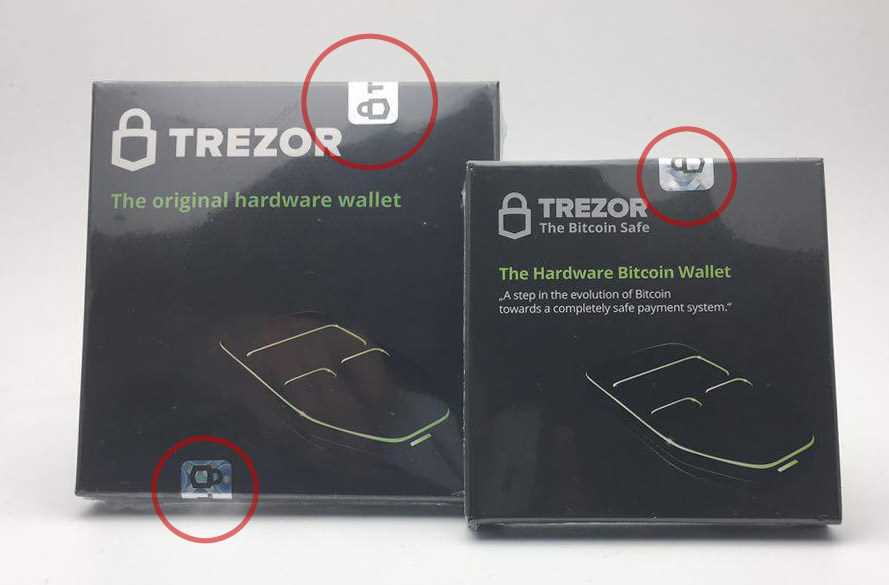
Keeping your cryptocurrencies safe and secure is paramount in the world of digital assets. One popular solution for storing your digital wealth is the Trezor hardware wallet. Trezor is a leading name in the cryptocurrency security industry, offering users a safe and simple way to manage their funds.
In this guide, we will walk you through the process of setting up and using your Trezor device. From initial setup to sending and receiving transactions, we will cover all the essential steps to ensure your funds are protected.
Whether you are new to the world of cryptocurrencies or a seasoned investor, understanding how to use your Trezor wallet is crucial for safeguarding your assets.
Learn how to use Trezor
If you’re new to using a Trezor hardware wallet to secure your cryptocurrency, don’t worry–it’s easier than you think! Follow these simple steps to start using your Trezor:
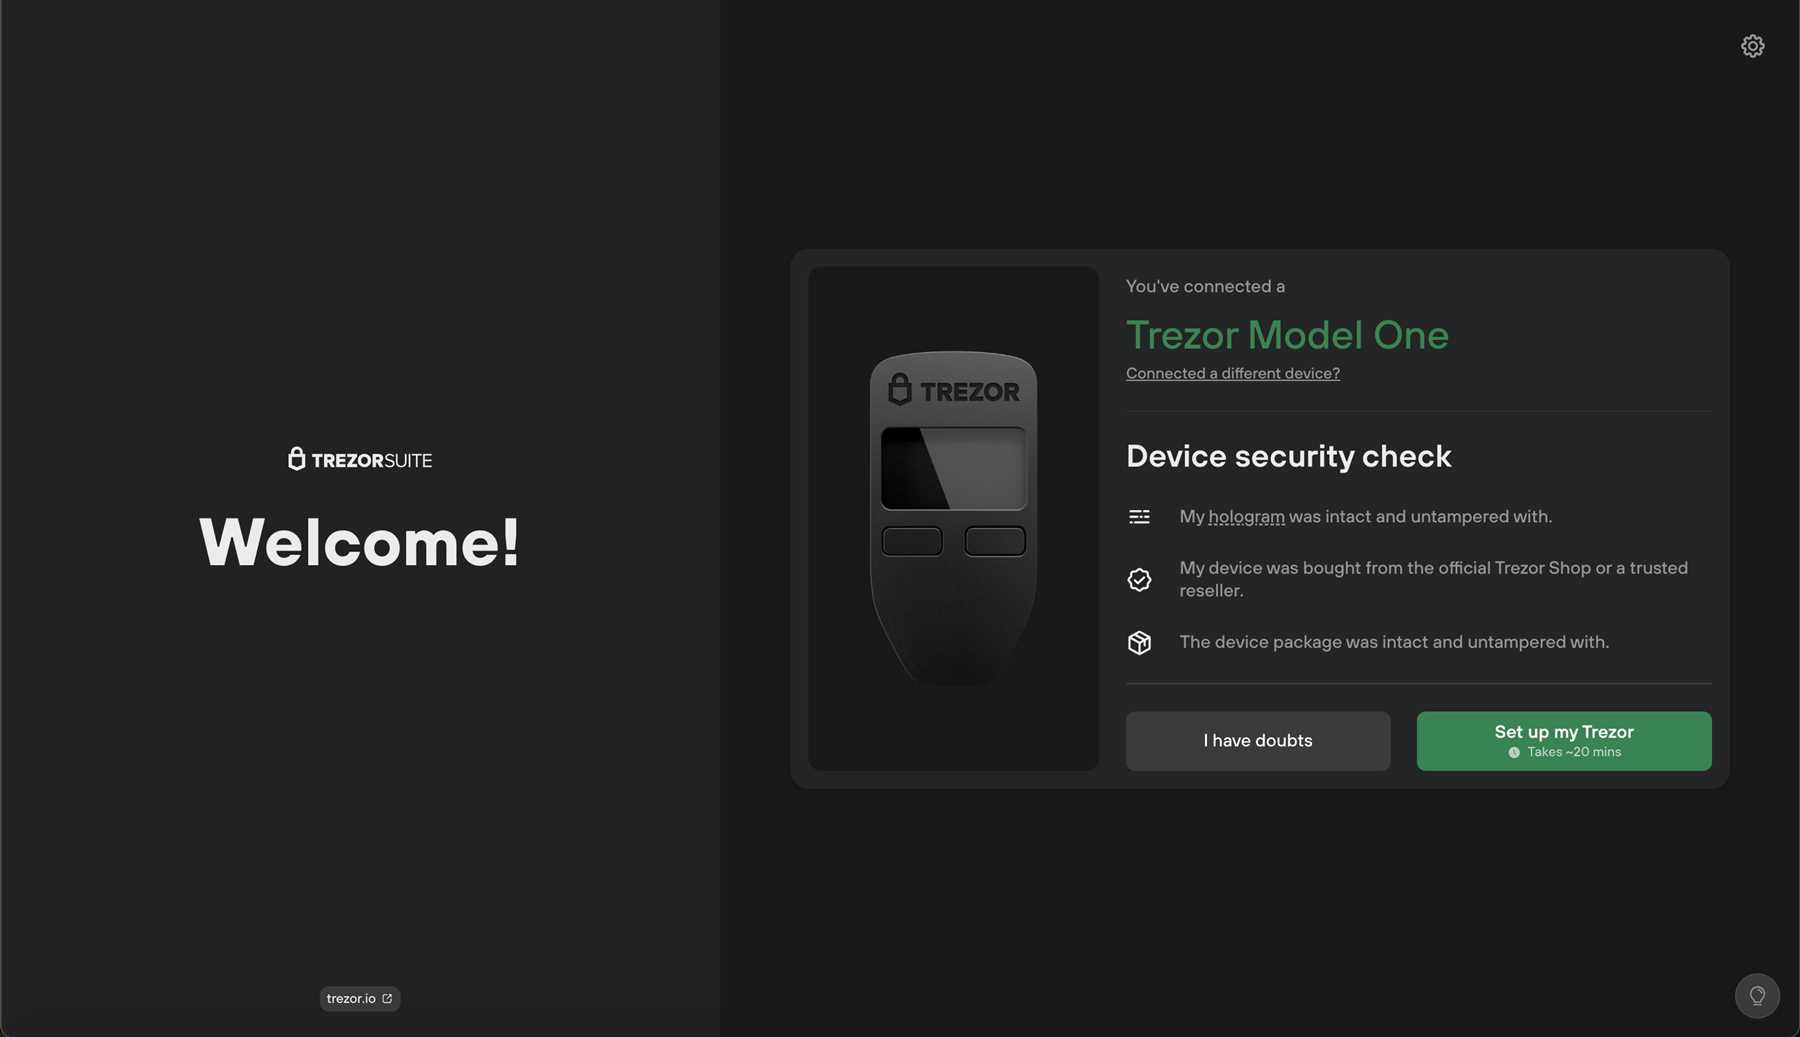
- Unbox your Trezor device and connect it to your computer using the USB cable.
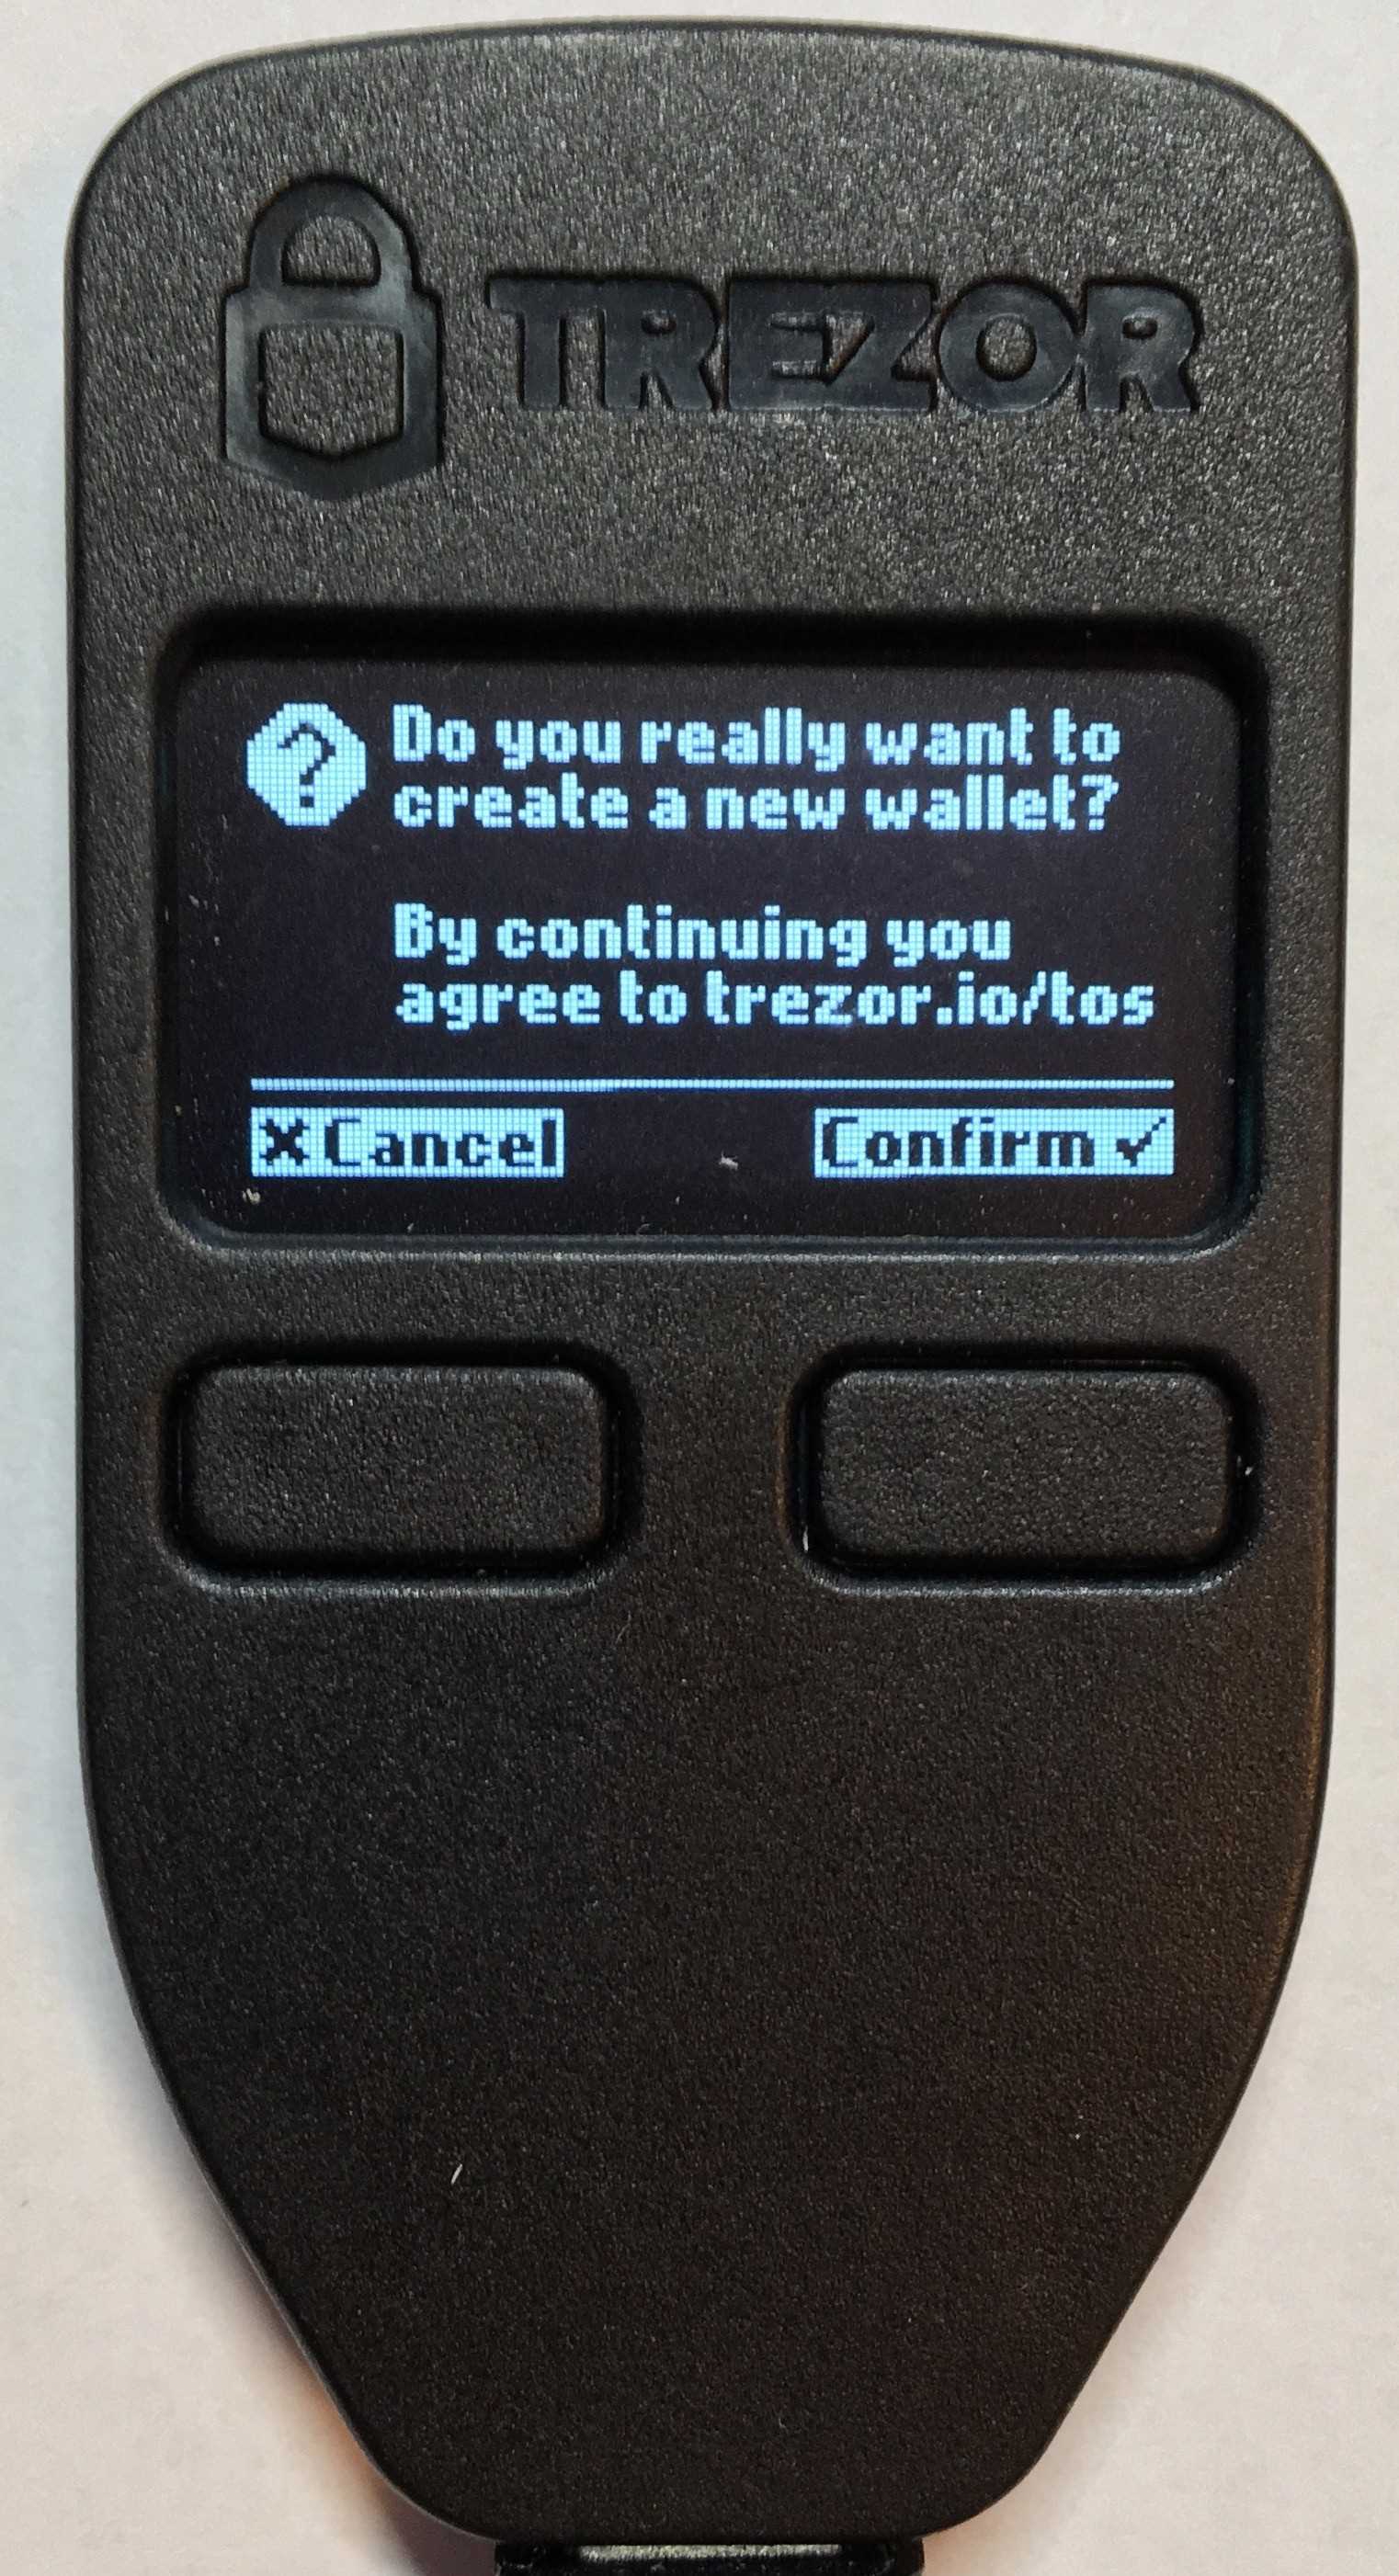
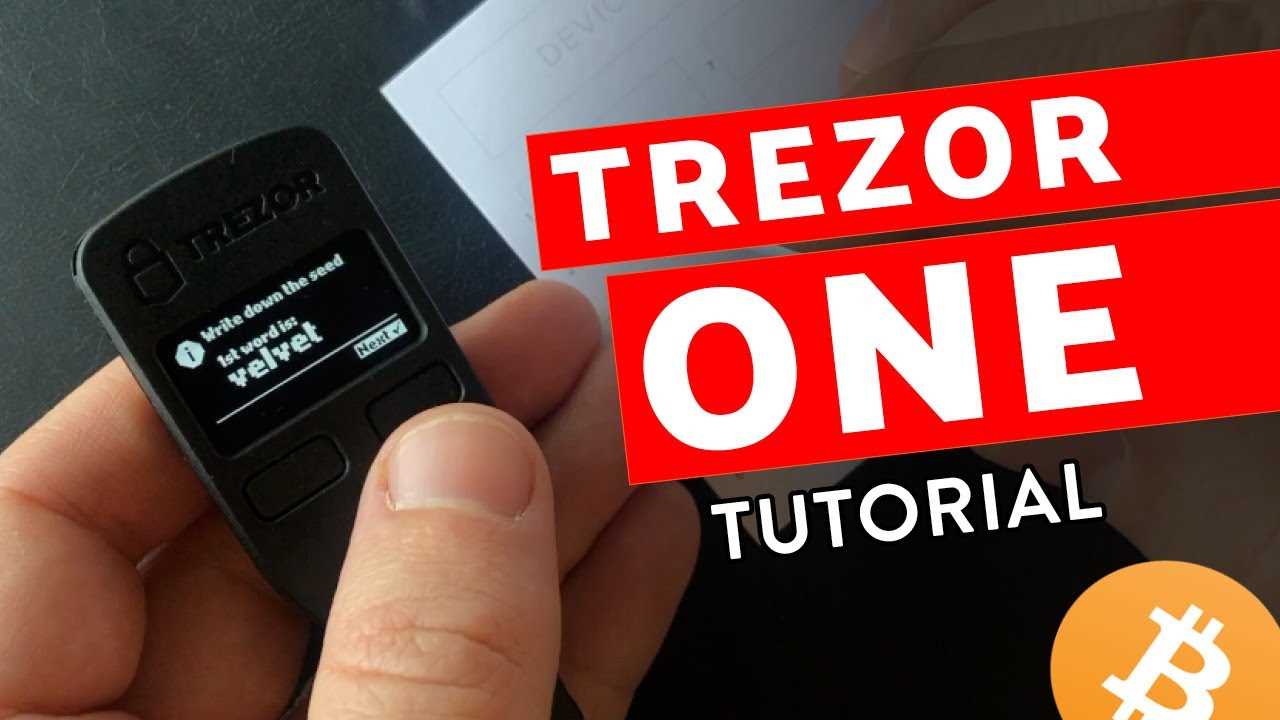
- Visit the Trezor website and follow the instructions to set up your device. Make sure to write down your recovery seed and keep it in a safe place!
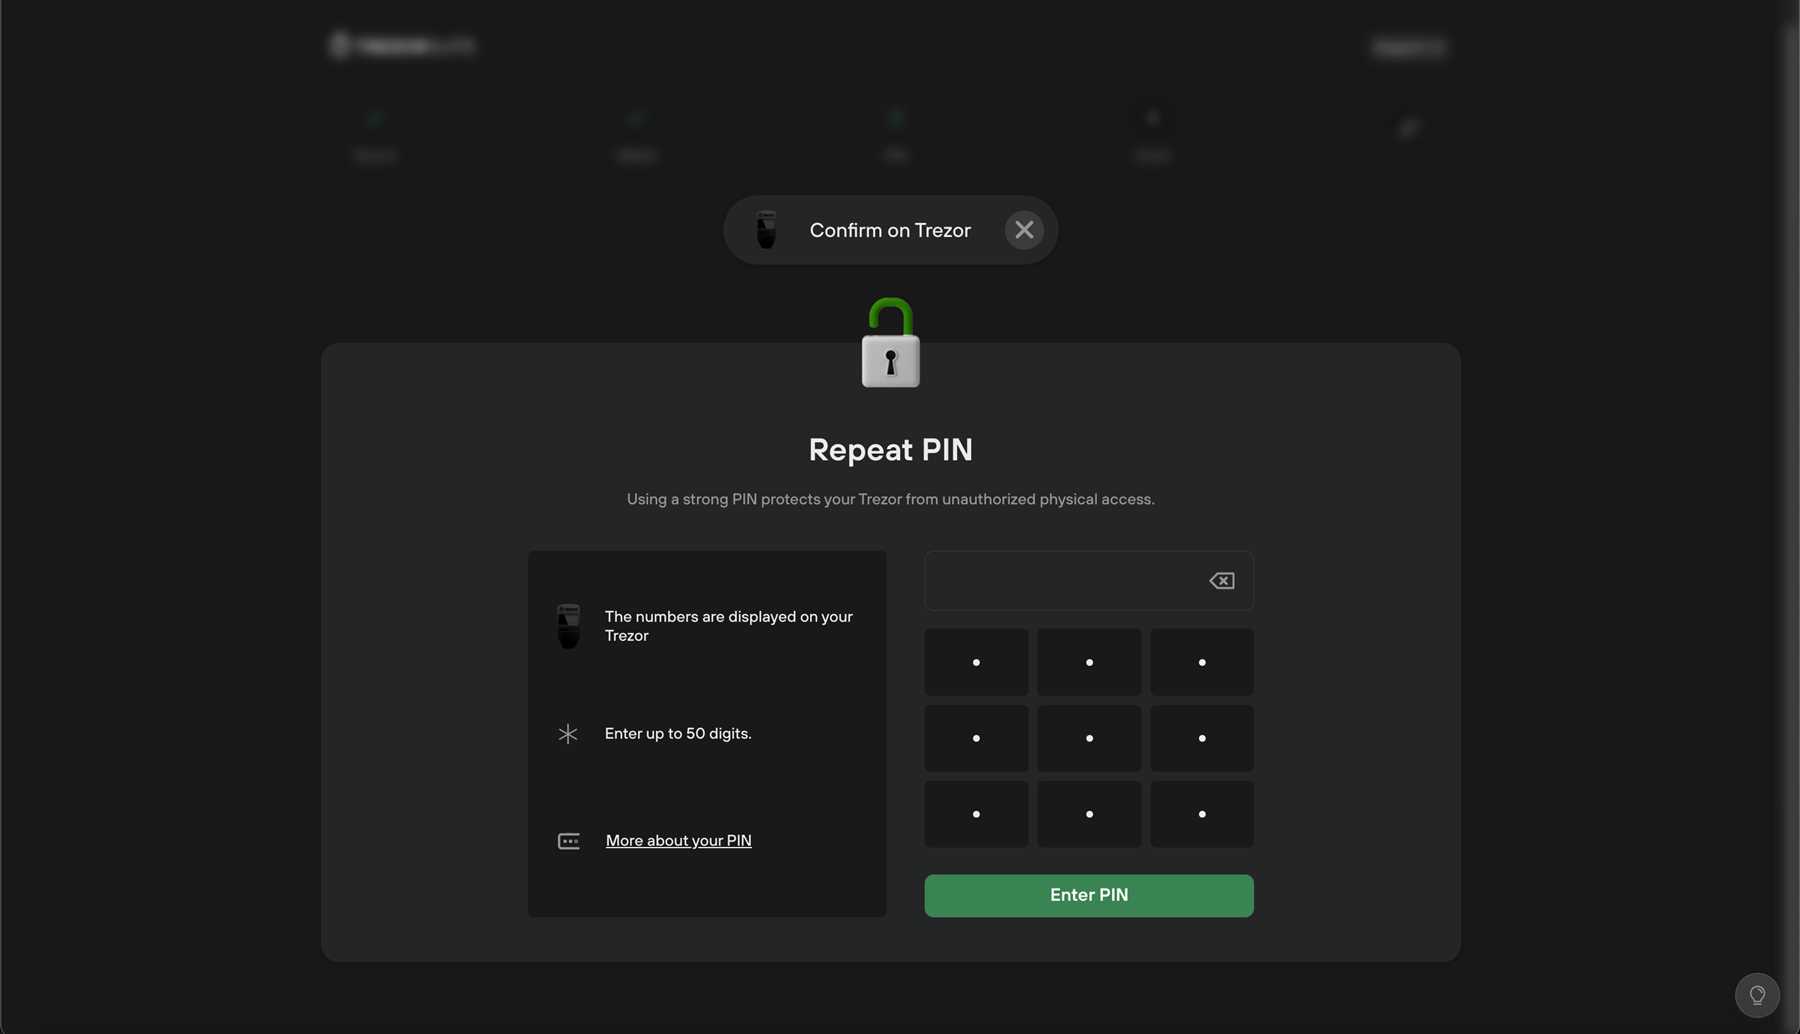
- Create a PIN for your Trezor device to add an extra layer of security.
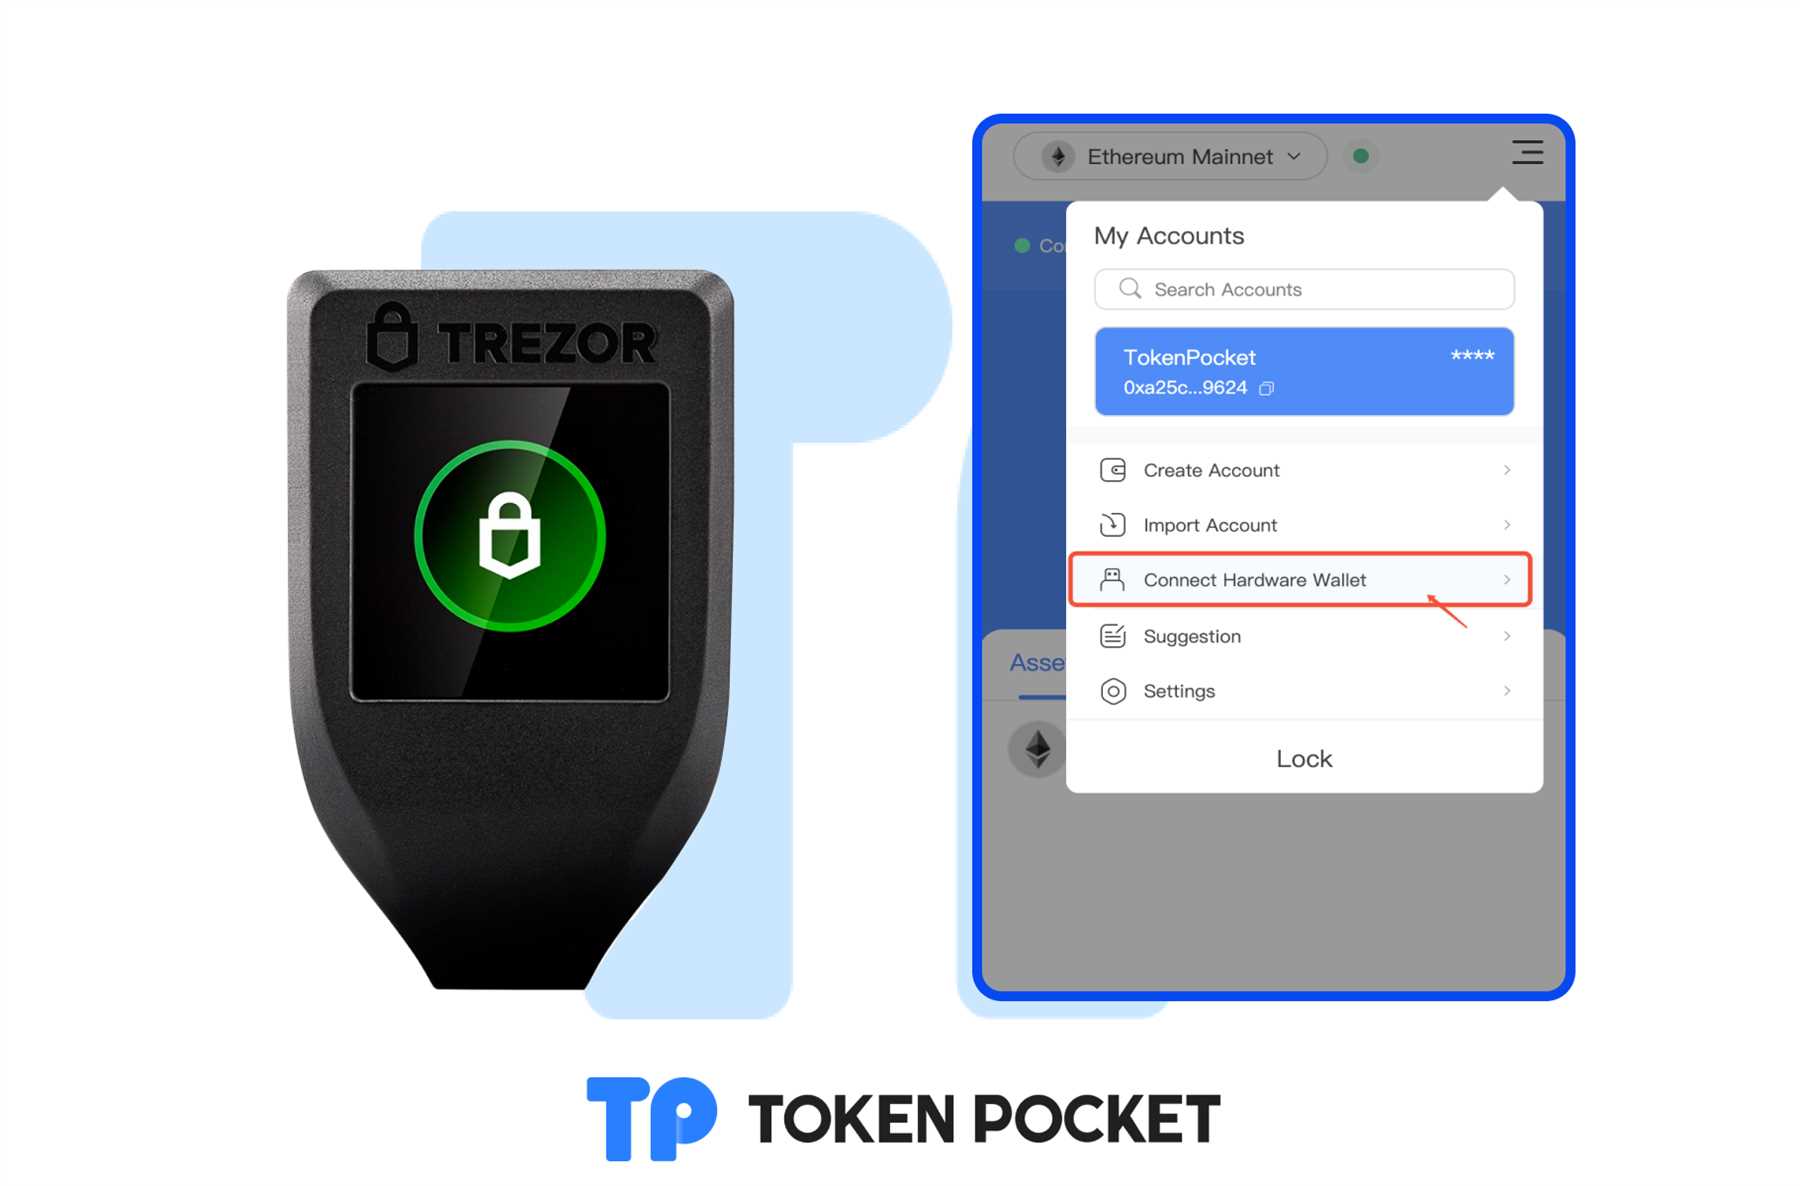
- Download and install the Trezor Bridge software on your computer to enable communication between your device and the Trezor Wallet interface.
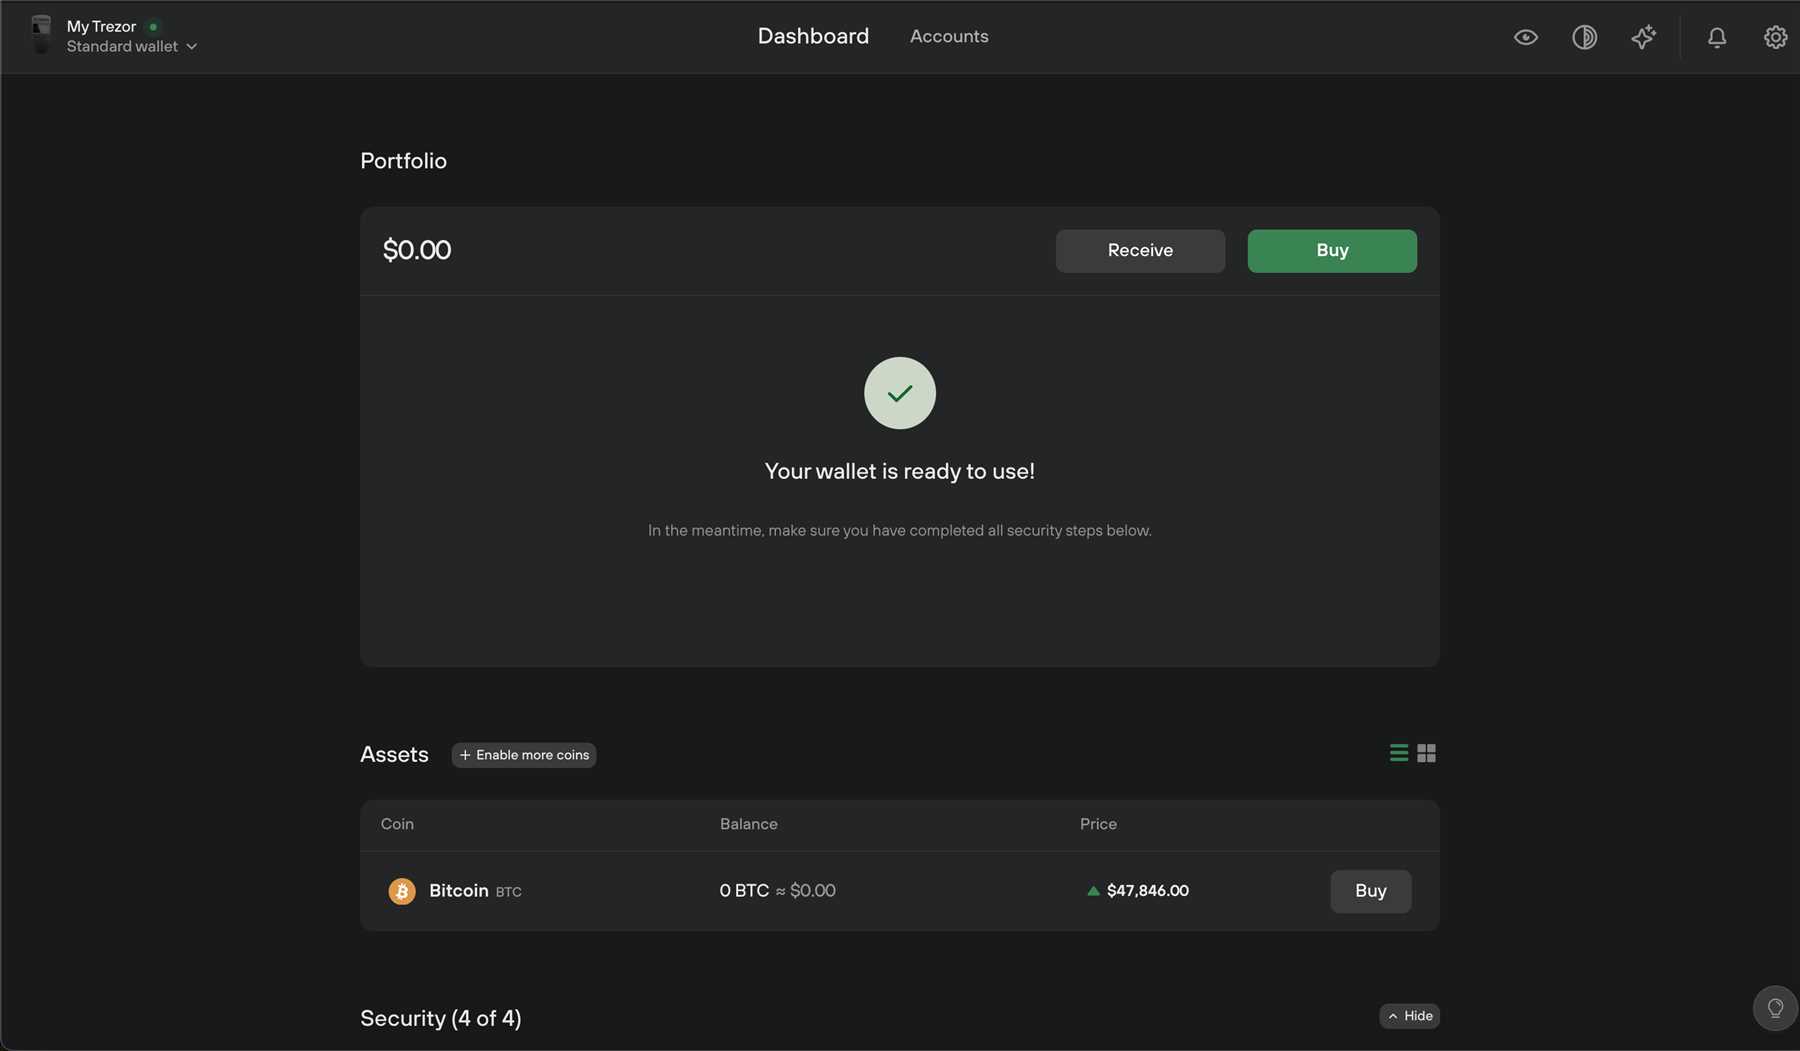
- Access the Trezor Wallet interface on your computer and start managing your cryptocurrency assets securely.
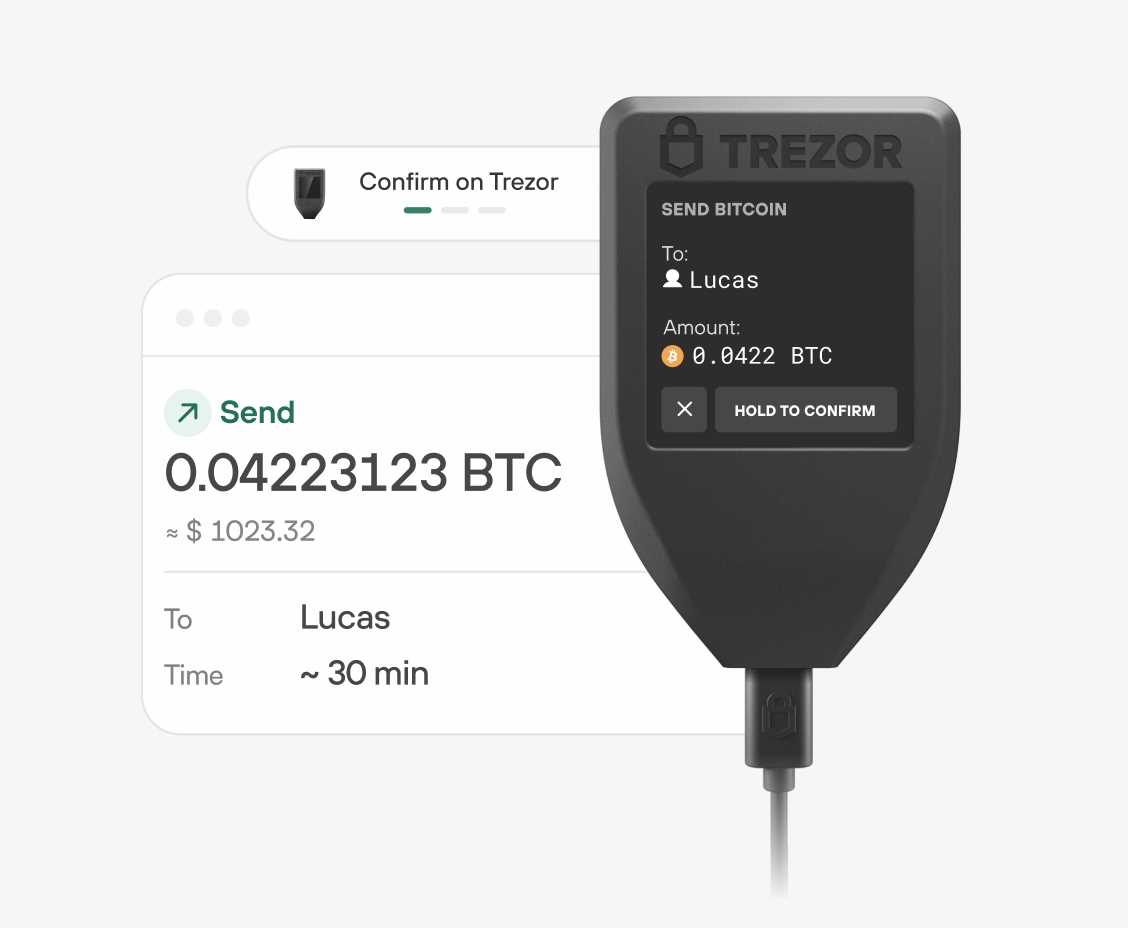
- Send and receive cryptocurrencies using your Trezor device, and enjoy peace of mind knowing that your digital assets are safe and secure.
By following these steps, you’ll quickly become familiar with using your Trezor hardware wallet and will be able to securely manage your cryptocurrency holdings with ease.
Step-by-step guide to store your assets
Securing your assets with a Trezor wallet is a safe and straightforward process. Follow these steps to store your assets securely:
Step 1: Set up your Trezor device

Start by setting up your Trezor device by following the manufacturer’s guidelines. Connect your Trezor to your computer and complete the initial setup process.
Step 2: Create a secure recovery seed
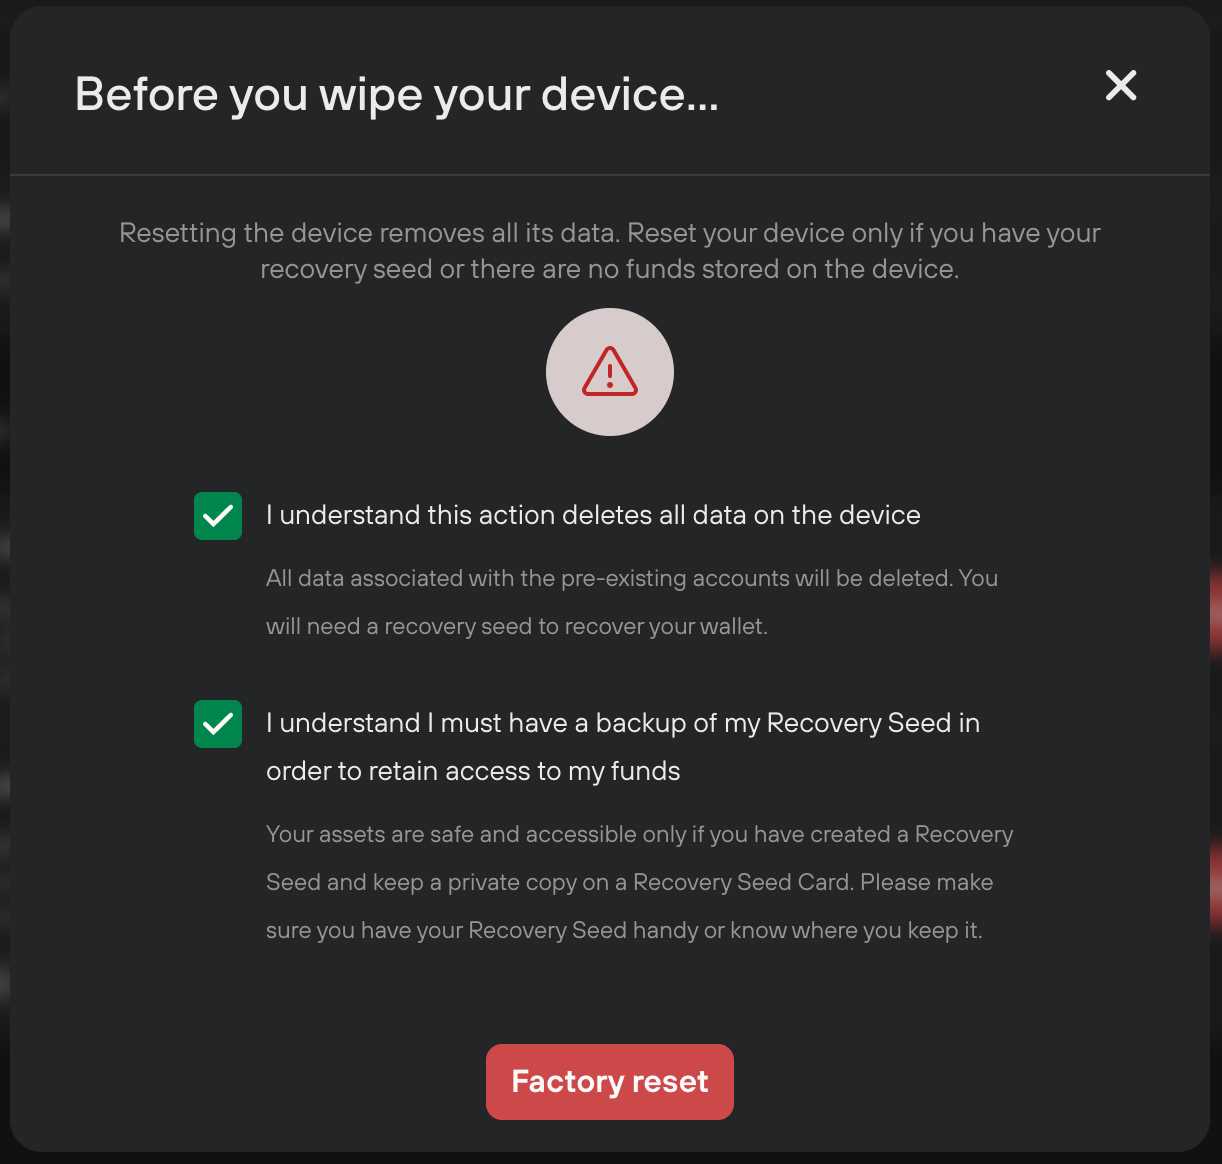
During the setup process, you will be prompted to create a recovery seed. This seed is crucial for restoring access to your assets in case your Trezor device is lost or damaged. Write down the recovery seed and store it in a safe place.
Note: Never share your recovery seed with anyone else.
By following these steps, you can securely store your assets using a Trezor wallet and have peace of mind knowing your funds are safe.
Tips for securing your Trezor
1. Always keep your recovery seed phrase secure and offline. Store it in a safe place, away from prying eyes and potential thieves.
2. Enable a strong PIN code on your Trezor device and make sure to keep it confidential. Do not share it with anyone.
3. Regularly update your Trezor firmware to ensure you have the latest security features and bug fixes.
4. Use a strong and unique password for your Trezor wallet, and consider enabling additional security features such as passphrase encryption.
5. Be cautious of phishing attempts and only interact with the official Trezor website or software to avoid scams.
6. Consider using a separate, dedicated computer or mobile device for accessing your Trezor wallet to minimize the risk of malware or keyloggers.
7. Keep your Trezor device physically secure and avoid leaving it unattended or in easily accessible locations.
8. Regularly check for any unauthorized transactions or suspicious activity on your Trezor wallet and report any concerns to customer support immediately.
Compatibility with different cryptocurrencies
Trezor supports a wide range of cryptocurrencies, including popular coins like Bitcoin, Ethereum, Litecoin, and many others. The device is continuously updated to ensure compatibility with new and emerging cryptocurrencies, making it a versatile solution for managing a diverse portfolio.
With Trezor, you can securely store, send, and receive various cryptocurrencies with ease, knowing that your assets are protected by industry-leading security features.
Benefits of using Trezor for your investments
When it comes to securing your cryptocurrency investments, using a Trezor hardware wallet provides several key advantages:
1. Enhanced security: Trezor stores your private keys offline, away from potential hacking attacks. This hardware wallet offers top-notch security features to protect your digital assets.
2. User-friendly interface: Trezor is designed with an intuitive interface that makes managing your investments easy and hassle-free. You can easily send and receive funds with just a few clicks.
3. Multi-currency support: Trezor supports a wide range of cryptocurrencies, allowing you to diversify your investment portfolio without the need for multiple wallets.
4. Backup and recovery options: Trezor provides backup and recovery options, ensuring that your funds are safe even if you lose your device. You can easily recover your wallet using the recovery seed.
5. Peace of mind: By using Trezor, you can have peace of mind knowing that your investments are securely stored and protected from potential threats. This hardware wallet offers a reliable and secure way to manage your digital assets.
Latest updates and features of Trezor hardware wallet
Trezor, one of the most popular hardware wallets for storing cryptocurrencies, continues to evolve with new updates and features to enhance security and usability.
Security Enhancements:
- Implementation of the latest cryptographic algorithms to protect private keys
- Multi-factor authentication for additional security layers
- Integration with password managers for secure access
New Features:
- Support for a wider range of cryptocurrencies and tokens
- Improved user interface for easier navigation and management of assets
- Compatibility with popular wallets and exchanges for seamless integration
These updates and features make Trezor a reliable and user-friendly solution for safeguarding your digital assets.
Community reviews and feedback on Trezor
When it comes to securing your cryptocurrency assets, the Trezor hardware wallet has garnered praise from the crypto community. Here are some reviews and feedback from users who have experienced the benefits of using a Trezor device:
- “I love my Trezor! It’s so easy to use and gives me peace of mind knowing my crypto is safe.” – Sarah J.
- “The setup process was a breeze, and I appreciate the extra security features Trezor offers.” – John D.
- “I’ve been using Trezor for years now, and I wouldn’t trust any other hardware wallet with my funds.” – Michael S.
These testimonials highlight the reliability and user-friendliness of Trezor, making it a popular choice among cryptocurrency enthusiasts. Whether you’re a beginner or an experienced crypto investor, Trezor provides a secure and convenient way to store your digital assets.
FAQ:
What is a Trezor and how does it work?
Trezor is a hardware wallet designed to securely store your cryptocurrencies. It works by keeping your private keys offline and requires physical confirmation for transactions, providing a high level of security against digital threats.
How can I set up my Trezor device?
To set up your Trezor device, you will need to visit the Trezor website and follow the instructions to create a new wallet. You will be prompted to connect your device, set a PIN, and backup your recovery seed. Once this is done, your Trezor is ready to use for securely storing your cryptocurrencies.